ESXi Install and Configure
This guide will cover the ESXi installation and configuration process. If installing ESXi onto a bare-metal server from a USB, follow my guide here on how to create a bootable USB installer. Once you have your installation media ready, either a USB installer or the downloaded ISO, insert / attach the media and power on your server. If you are doing this in a nested ESXi environment, attach the media via the VMware Remote Console.
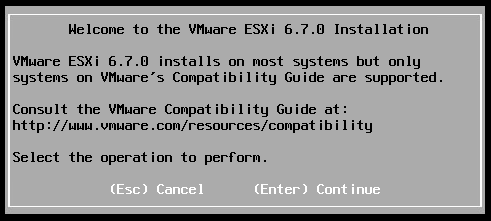
Once the installer has launched the wizard below, the installer is now loaded to memory and the installation media can be removed. If you are using a USB, you can leave the USB drive attached and install ESXi onto the USB and boot from there in future. Select Enter to continue.
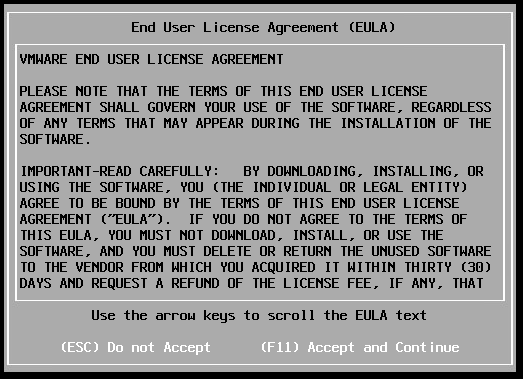
Just like all good administrators do, have a read of the EULA and accept them if you do, by pressing F11.
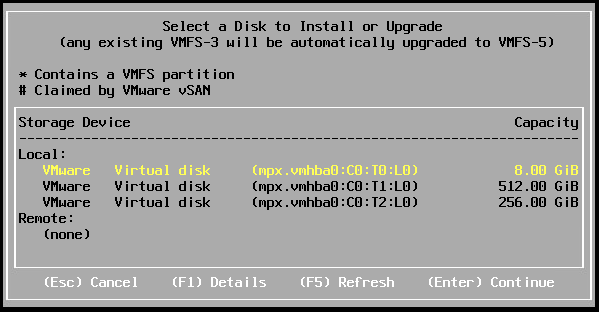
The installer will then scan for available storage attached to the server...

Once the scan has finished it will show you the available drives. For this example, there is an 8GB disk for the ESXi installation, a 512GB SSD for vSAN Capacity Tier and a 256GB SSD for vSAN Cache Tier. Select the appropriate drive, and select Enter.
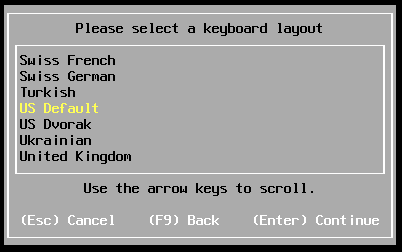
Select the appropriate Language and select Enter.
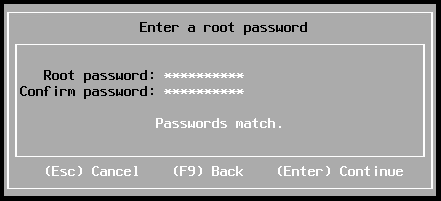
Enter a password for the root user. This should be a complex password and I recommend using a Password Generator to create a long and complex password, without special characters, to avoid issues. Ensure that the passwords match and select Enter.
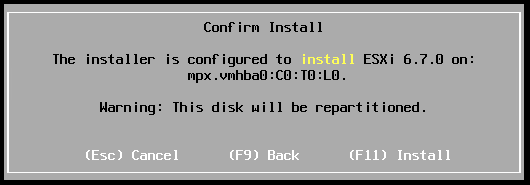
One final confirmation screen. Select F11 and the installation will begin.

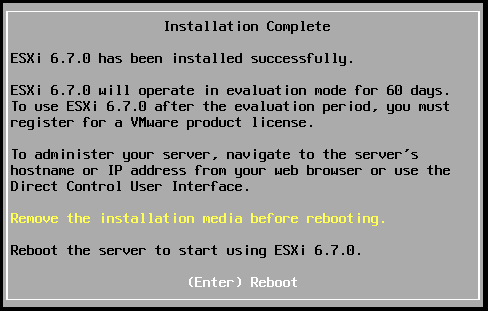
Once the installation is complete you will see the below screen. Ensure that the installation media is removed (the mounted ISO or the attached USB if you haven't used the USB as the boot device) and select Enter to restart the server.
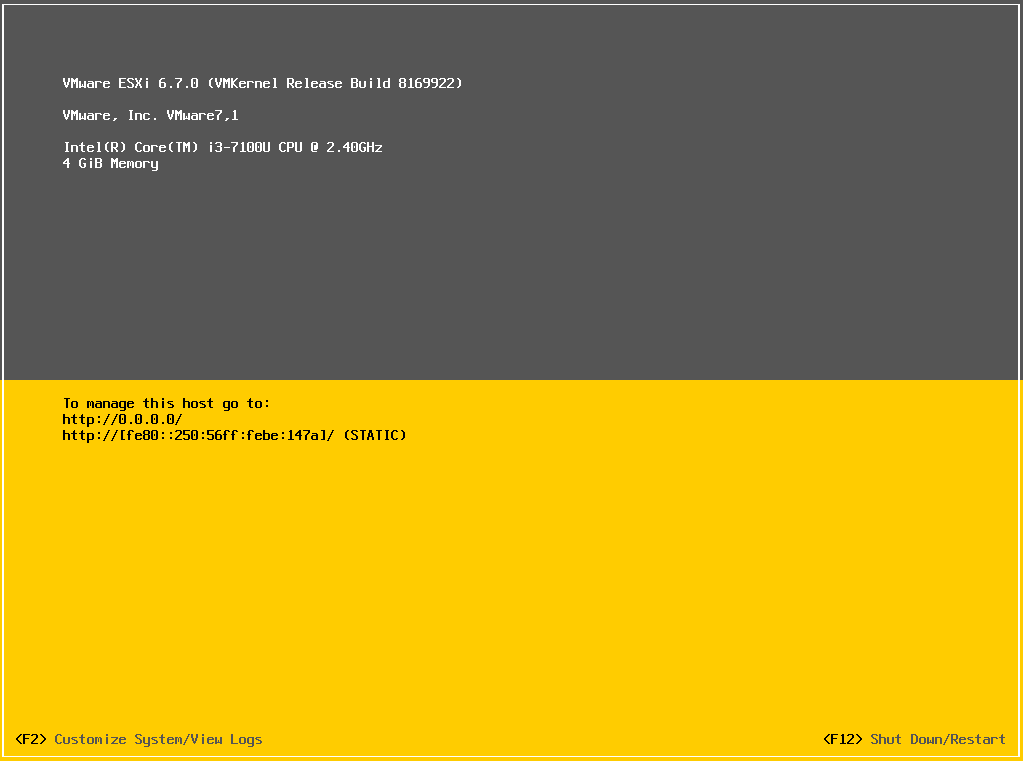
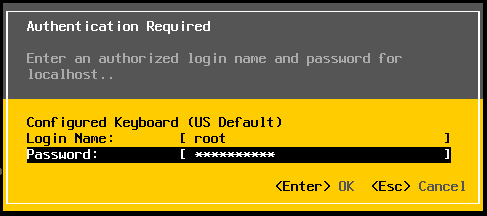
Once the server has restarted, check the console screen and select F2 to load the login dialog box. Enter the password you set for the root user and select Enter.
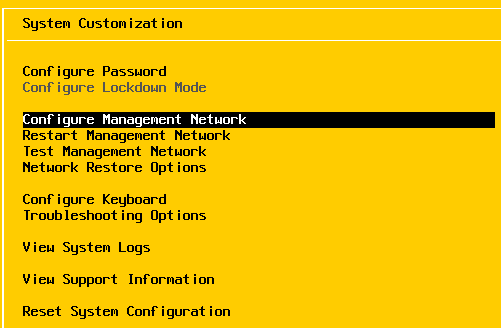
Once you have successfully logged in, we need to configure the networking. Scroll down to Configure Management Networking, and select Enter.
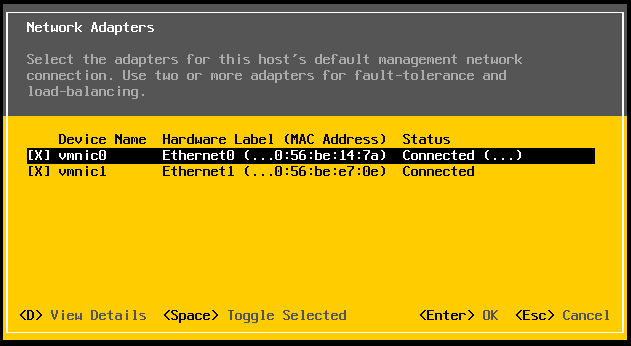
Select Network Adapters and you will notice that if you have multiple NICs connected to the server, only NIC1 is selected. To ensure management network redundancy, highlight NIC2 and select Space to toggle the connection status. With both NICs selected, select Enter.
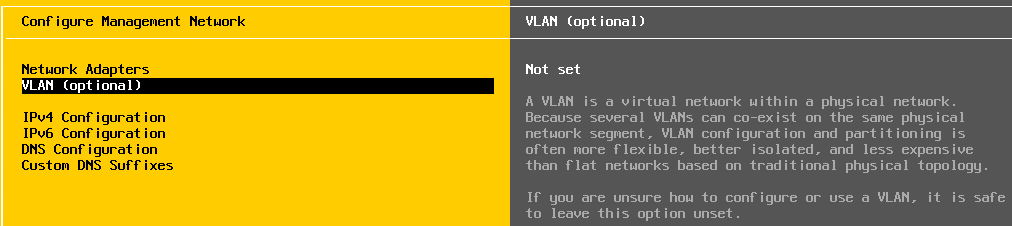
Navigate to VLAN and enter your VLAN ID for the management network if you have one, otherwise leave this blank.
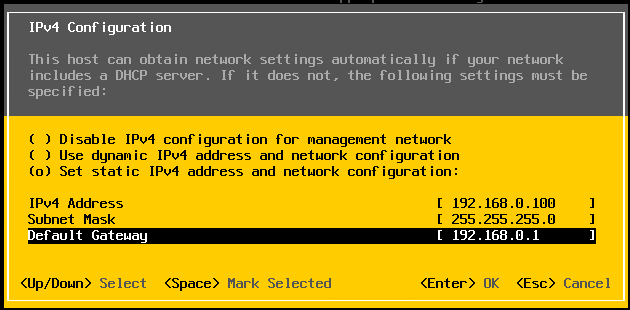
Navigate to IPv4 Configuration and press Enter. Navigate to "Set static IPv4 address and network configuration" and select Space. Navigate and enter the appropriate IPv4 address, subnet mask and default gateway. Press Enter to Save the configuration
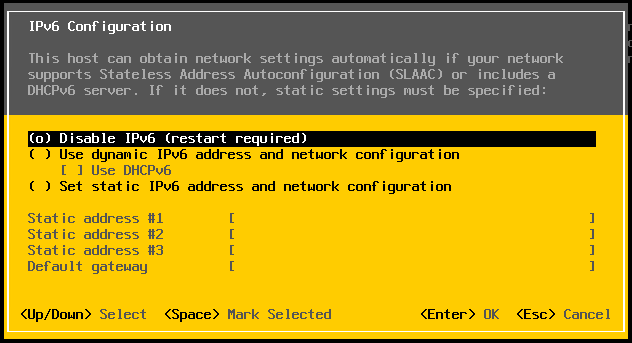
Navigate to IPv6 Configuration and select Enter. Navigate to "Disable IPv6" and select Space and Enter to Save the configuration. Note that a restart of the server will be required for this setting to be applied.
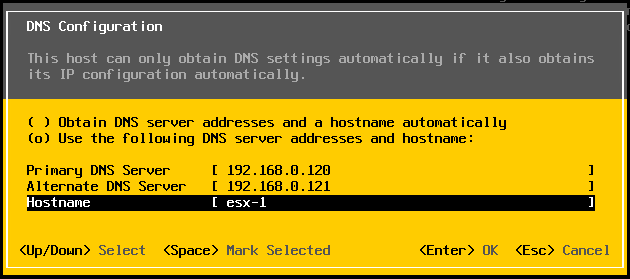
Navigate to DNS Configuration and select |Use the following settings" by selecting Space and enter your DNS servers and the hostname of the server. Select Enter to save.
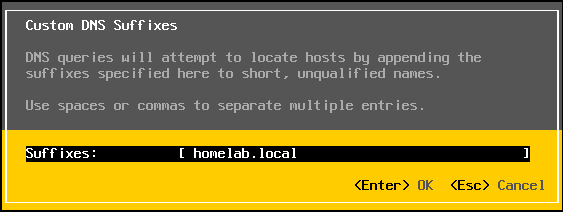
Navigate to Custom DNS Suffixes and enter your domain name. Select Enter to Save.
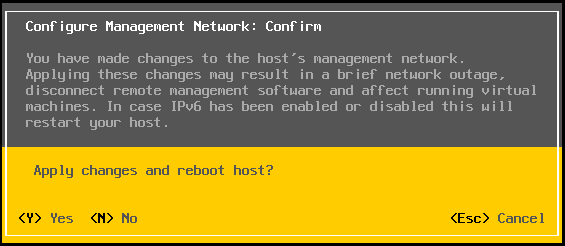
With all of the configuration done, select Esc and select Y to restart the host when prompted.
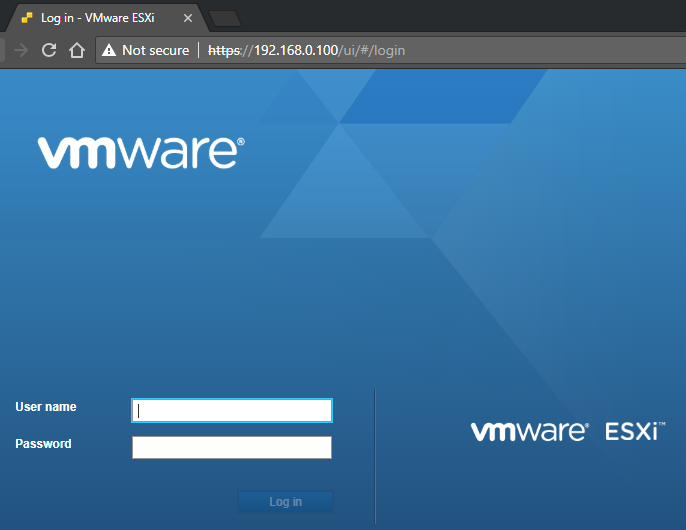
Once the host has been restarted, the network will now be available and you should be able to access the Host UI available at https://