vRealize Automation 8.x - Setup Amazon Web Services Cloud Account
vRealize Automation 8.x can integrate with several cloud providers, and to do this for your Amazon Web Services (AWS) environment, select Cloud Assembly > Infrastructure > Connections > Cloud Accounts and create each of the cloud integrations you require. For AWS, we simply need to head over to the AWS Console console.aws.amazon.com and authenticate with the account which has access to the AWS account you want to integrate with.
To integrate vRA 8.x with AWS, there are 2 configuration IDs and some permissions that need to be set up which we need to complete and provide to the vRA portal. These are covered in the sections listed below.
Access key ID and Secret access key
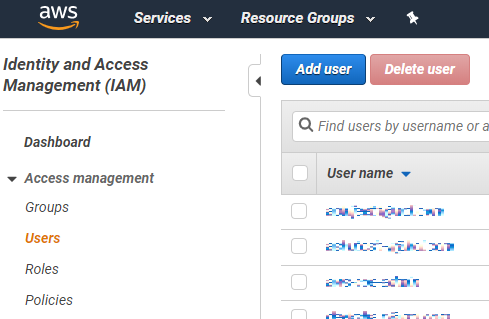
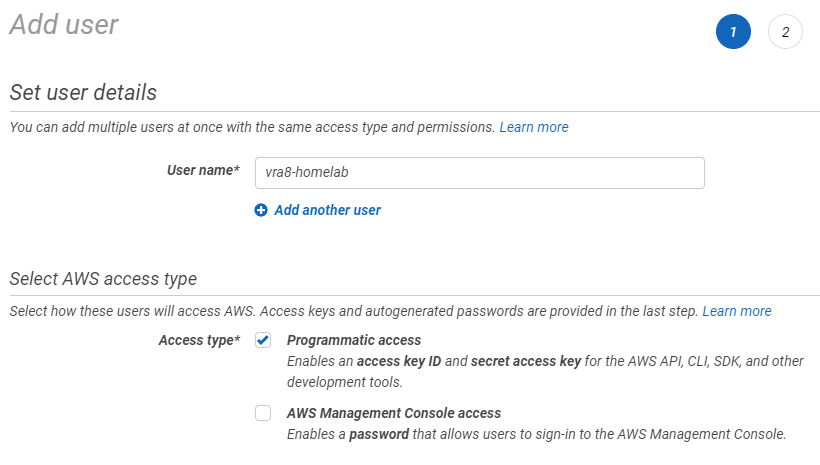
Navigate to the Identity and Access Management console and create a new user by selecting IAM > Users > Add user. Enter an appropriate username and select Programmatic access for the access type.
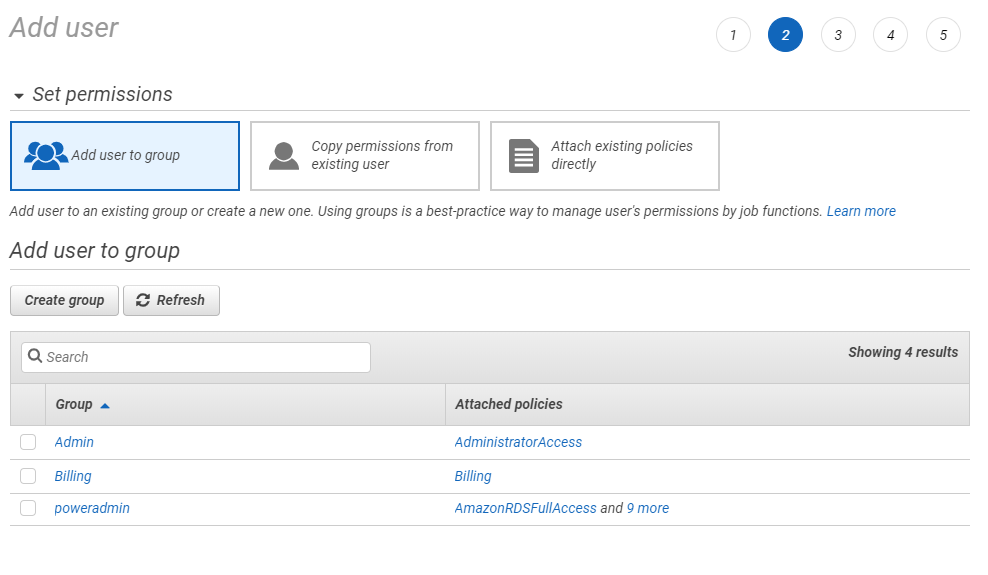
On the Set permissions page, the user account will require the poweradmin group role and optionally set the "permissions boundary".
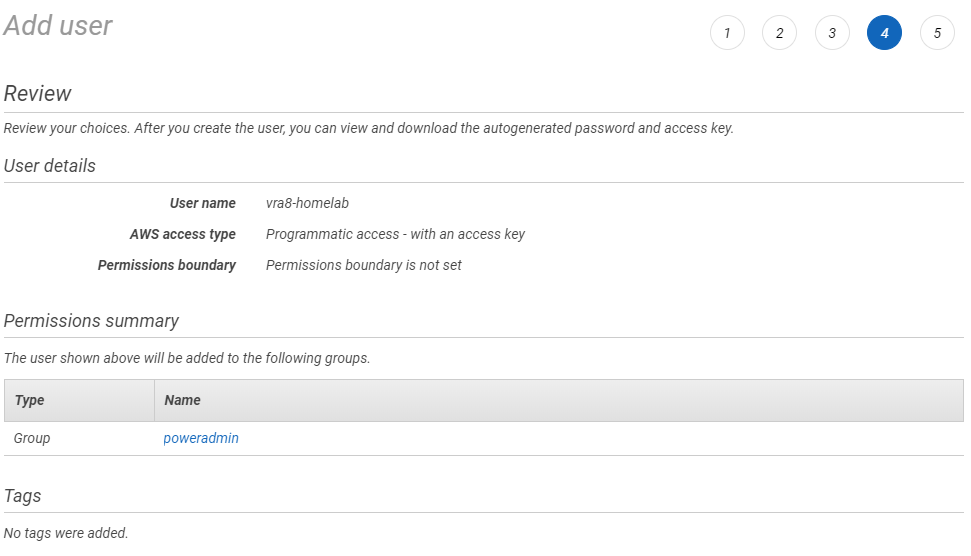
On the next tab optionally set any tags applicable to your environment and on the following tab review the settings before creating the user.
Once the user account is created, the page is update to provide you with the Access key ID and the Secret access key. Copy both of these values as these are required in the vRA portal. Note that once you navigate away from this page, the credentials can not be retrieved.
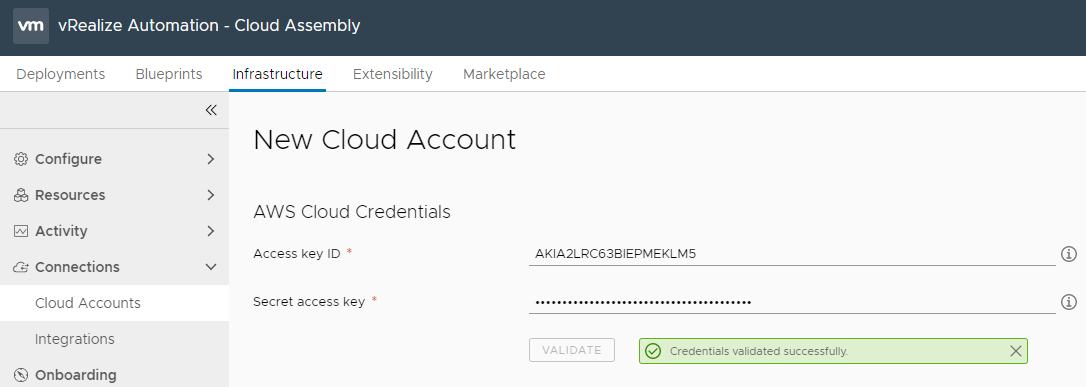
Access key ID: AKIA2LRC63BIEPMEKLM5
Secret access key: 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

vRA Portal Configuration
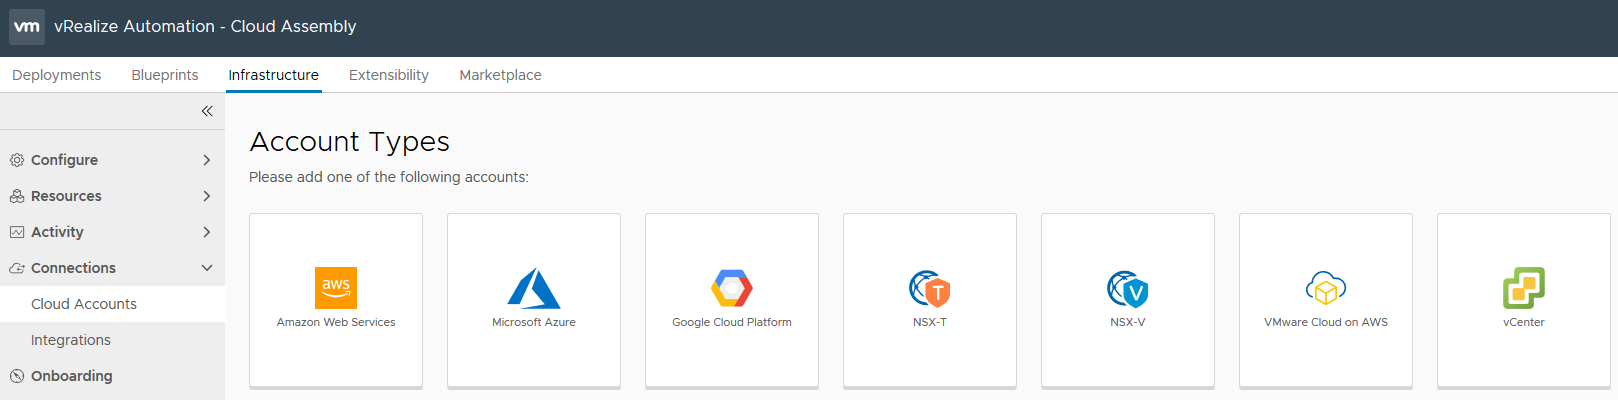
Back in the vRA portal, select Cloud Assembly > Infrastructure > Connections > Cloud Accounts > Add Cloud Account > Microsoft Azure.
In the New Cloud Account page, copy in the two values we obtained from the AWS Console earlier, and select Validate to confirm the credentials are correct.
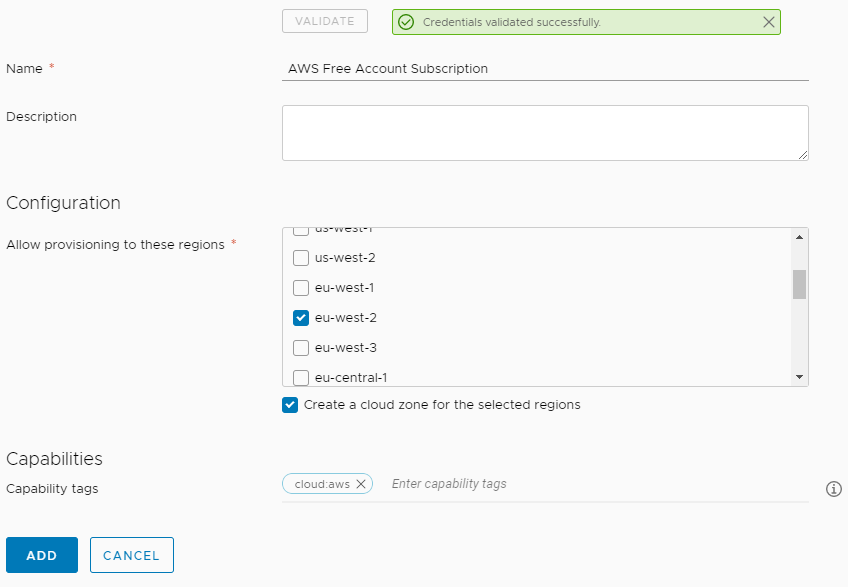
Enter a name for the Cloud Account and optionally a description. Under Configuration, select the regions to allow provisioning to, ensure the checkbox is selected to create a cloud zone for each of the selected regions, and under Capability tags, enter "cloud:aws". This enable us to use tagging in the blueprint request forms to select the appropriate cloud account / endpoint to provision to. Once done, select Add.
Once the Cloud Account has been created, under Configure > Cloud Zones, you will see your selected regions each having their own Cloud Zones.
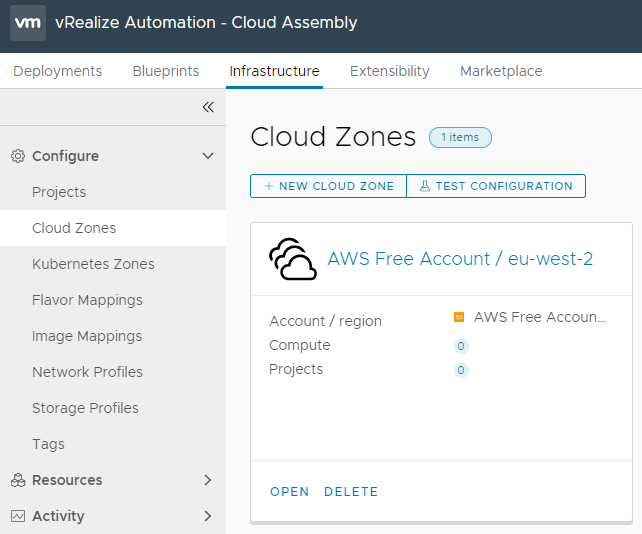
Once the Cloud Zone is created, no compute is associated with it automatically, so open the Cloud Zone and select the Compute tab. Cancelling back out will update the view in Cloud Zones to display the number of availability zones.
In more complex environments, you can Open the Cloud Zone and select the Compute tab, and for each availability zone, assign capability tags. If for example you have separate availability zones for dev, test and prod, you could assign the capability tag “environment:dev” to eu-west-2b, and "environment:test" & "environment:prod" to eu-west-2a, to ensure that dev workloads are placed only in the eu-west-2b availability zone, and the rest in eu-west-2a. The second part of this configuration is done in the blueprint request form.