Homelab Setup Part 1 - Intel NUC
I have recently decided to purchase a homelab for myself to assist with getting my certifications up to date and after much research and procrastinating I have gone with the setup below. Overall I have been very happy with the performance and compatibility of everything and I have tried to link to all of the useful blogs that helped me along the way.
Hardware
1 x TP-Link TL-SG108E 8 Port Switch (Amazon UK)
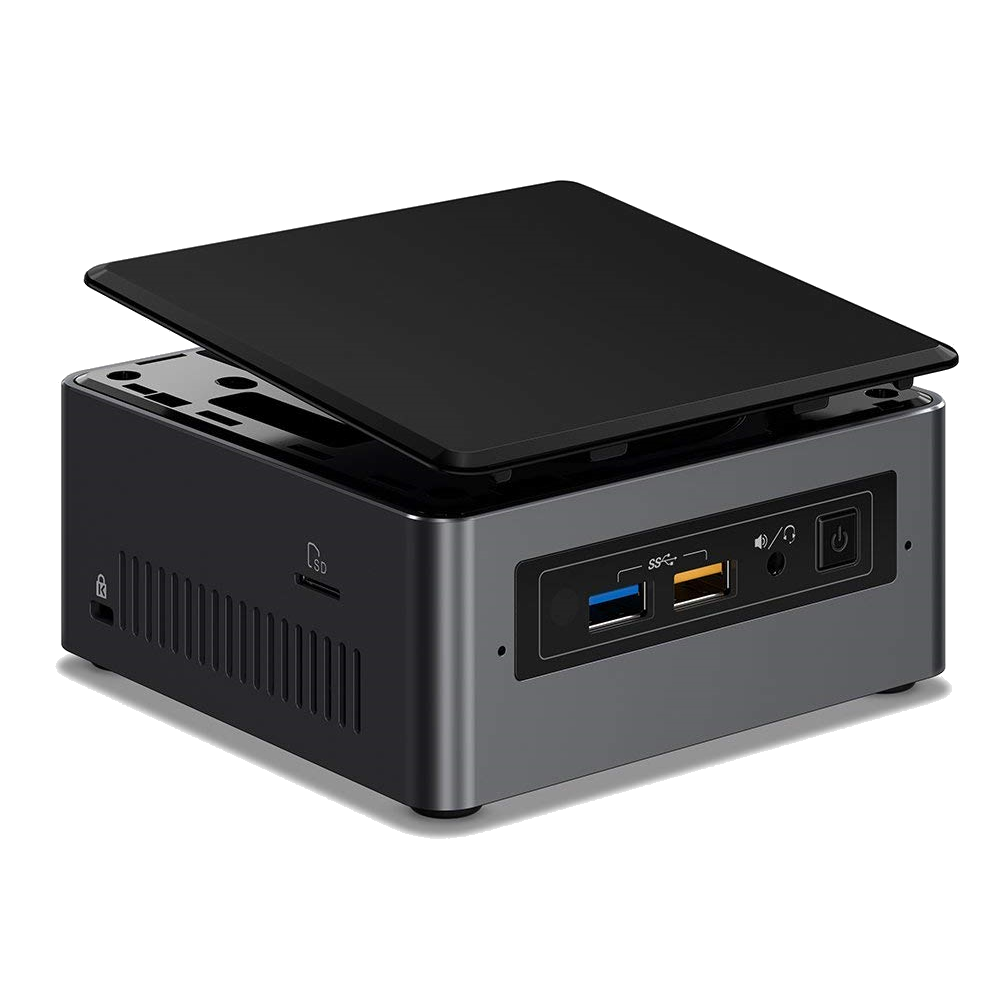
3 x Intel NUC 7 Baby Canyon i3 NUC7i3BNH (Amazon UK)
Each Intel NUC contains the following...
2 x Crucial 16GB DDR4 2400MT/s Memory for 32GB total RAM (Amazon UK)
1 x Crucial 16GB DDR4 2400MT/s Memory for SODIMM1 (Amazon UK)
1 x Samsung 32GB DDR4 2666 MHz Memory for SODIMM2 (SCAN) (total 48GB)
1 x Samsung 500GB SSD 860 EVO for vSAN Capacity Tier (Amazon UK)
1 x Samsung 250GB NVMe SSD for vSAN Cache Tier (Amazon UK)
1 x SanDisk Cruzer Fit USB Flash Drive to boot ESXi (Amazon UK)
Setup the NUC and Install ESX
There are plenty of blogs already about running ESXi on Intel NUCs and I found this virten.net blog by Florian a great resource. To start things off, plug in the switch and connect LAN1 to your upstream / ISP router. You should now be able to plug in a laptop/desktop PC to confirm that you are able to get a valid IP address and ping the default gateway / upstream ISP router. Manually configure the IP address of the router so that it isn't assigned via DHCP by downloading the Easy Smart Configuration Utility (SCU), locating the device and setting it through the GUI. Note the default username & password are admin/admin. Select Apply and
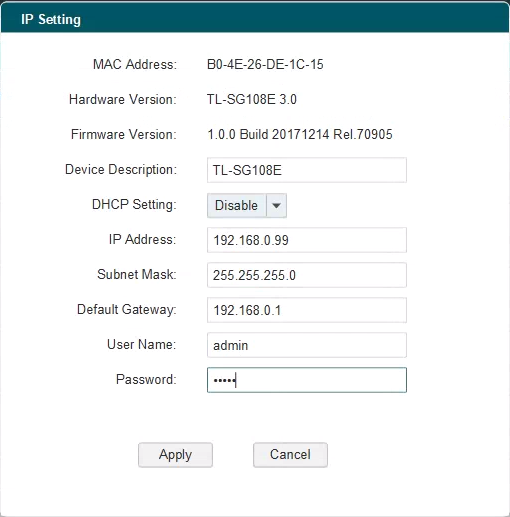
Now the router is on the network with a static IP address, login via the TP-Link SCU, select System Info and confirm the hardware version (my unit is TL-SG108E 3.0). Head over to the support page and download the latest firmware version for your hardware version & model number from tp-link.com and upload the .BIN file in the SCU under System, Firmware Upgrade and complete the upgrade.
Now the network is up again, download the latest BIOS update for your Intel NUC and copy the .BIN file to the SanDisk Cruzer USB. Boot up each Intel NUC and select F7 to open the BIOS Update menu and follow this guide how to install the update. Select the .BIN ISO file and let the Intel NUC reboot. With the BIOS updated, time to install ESXi. Download the ESXi installer (ESXi 6.7) and Rufus which is used to create a bootable USB with the ESXi ISO. Once the ESXi ISO is downloaded, plug in the SanDisk Cruzer USB to your PC, open Rufus, select the ISO and create the bootable USB. For the full guide, check out my full guide here.
Once the bootable image is created, boot up the Intel NUC and quickly select F10 at boot time to load the BIOS Settings. Select Advanced to switch to the Advanced settings and select the Security tab. To resolve the below two alarms preemptively, untick "Intel Platform Trust Technology" and Save & Exit.
- Host TPM attestation alarm
- TPM 2 device detected but a connection cannot be established
With the bootable USB ESXi installer ready, plug it into the first Intel NUC, select F10 to open the boot menu and select USB device. The ESXi installer is loaded into memory so as you progress through the installer, you can install ESXi to the same USB which has the installer. Pretty cool right? To run through the installer and set up the network configuration, check out my full guide available here. The configuration of my ESXi hosts are below but keep in mind we will change the DNS settings and domain name once we have an Active Directory (AD) server up and running.
- Hostname: esx-1; esx-2; esx-3
- IP Address: 192.168.0.100; 192.168.0.101
- Default Gateway: 192.168.0.1
- DNS Server: 192.168.0.1
The environment so far...
| Name | IP Address |
|---|---|
| ISP Router | 192.168.0.1 |
| DHCP Clients (Home PCs & Laptops) | 192.168.0.10 - 192.168.0.98 |
| TP-Link Switch | 192.168.0.99 |
| Intel NUC (esx-1) | 192.168.0.100 |
| Intel NUC (esx-2) | 192.168.0.101 |
| vSAN Witness (esx-3) | 192.168.0.102 (management) 192.168.0.103 (vsan witness) |
| vCenter Server (vcsa) | 192.168.0.110 |
| AD Domain Controller (dc-1) | 192.168.0.120 (homelab.local) |
Part 2 of this guide will cover the initial vSAN Configuration and is available here.