vRealize Automation 8.x - Setup Google Cloud Platform Cloud Account
vRealize Automation 8.x can integrate with several cloud providers, and to do this for your Google Cloud Platform (GCP) environment, select Cloud Assembly > Infrastructure > Connections > Cloud Accounts and create each of the cloud integrations you require. For GCP, there is some preparation we need to do on the GCP Console, so head over to console.cloud.google.com and authenticate with the account which has access to the Project you want to integrate with.
To integrate vRA 8.x with GCP, there are a few configurations we need to complete and provide to the vRA portal. These are covered in the sections listed below.
Project ID
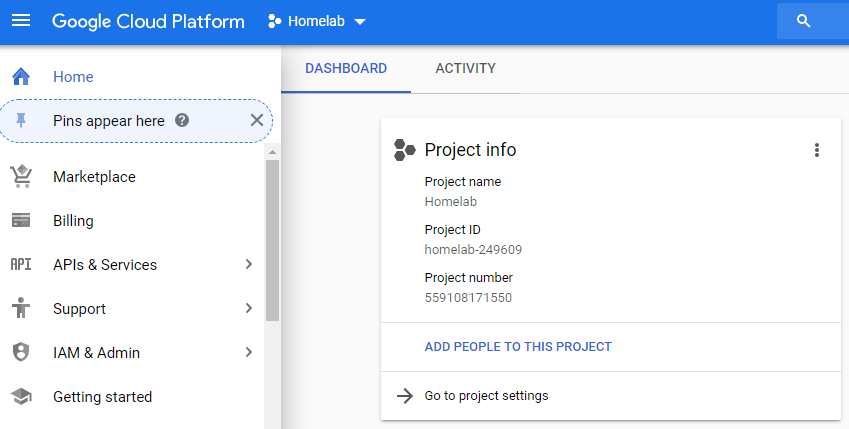
To retrieve the project ID, log into the GCP Console and select the appropriate Project. On the Home Dashboard under Project info, copy the Project ID and take note of it to validate it later in the vRA Portal.
Enable the API
The GCP project you have created for your environment, must have the Compute Engine API enable. Log into the GCP Console and select your project. From the menu, select APIs & Services > Enable APIs and Services. In the Search for APIs & Services box, type Compute Engine API and select the Compute Engine API.
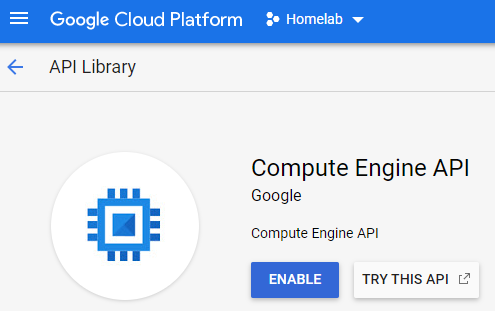
Select Enable to enable the API and wait for this to complete as it may take up to a minute.
Service Account
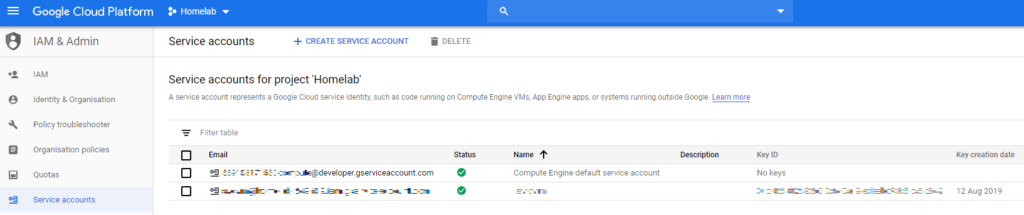
To create a service account, log into the GCP Console and ensure that you have selected the correct Project that you are working in. From the menu, select IAM & Admin > Service accounts > Create Service Account.
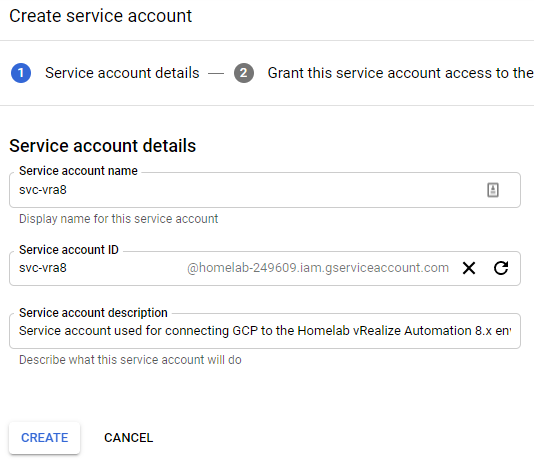
For the new service account, give it a logical name such as such as "svc-vra8" and the Service account ID will be auto-generated, however it can be amended.
A long service account name will fail vRA validation with an error stating incorrect permissions, when the details are entered in the vRA Add Cloud Account page. Save yourself some pain and choose a short and simple account name.
Give the service account a description, such as "Service account used for connecting GCP to the Homelab vRealize Automation 8.x environment".
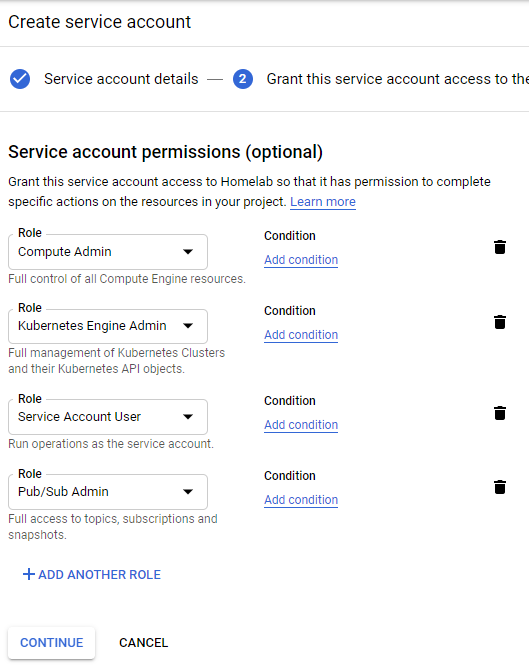
Once the account is created, it must me assigned a role so that it will be able to access the resources required for vRA 8.x to operate. There are several roles listed below which the service account requires to enable full functionality with vRA 8.x.
- Compute Engine > Compute Admin
- Kubernetes Engine > Kubernetes Engine Admin
- Service Accounts > Service Account User
- Pub/Sub > Pub/Sub Admin
Once the roles are selected, click Continue.
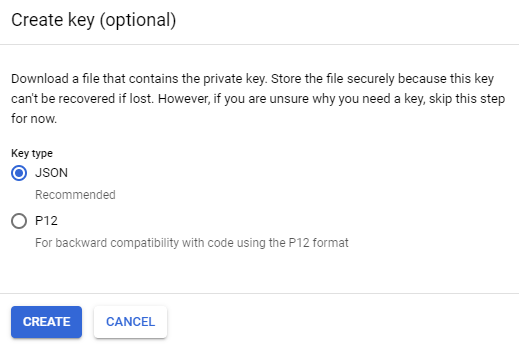
The next step, granting users access to this service account, is optional and is not required but may be relevant based on your organisations policies etc. Once you have reviewed the page to see if it applies, select Create Key.
Select the Key type as JSON and select Create.
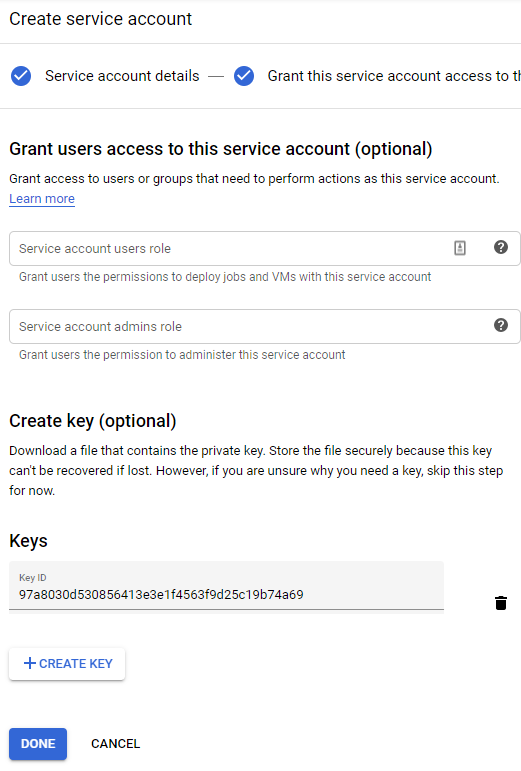
This will create a JSON file and your browser will download the file. Save it somewhere you can retrieve later. Once stored somewhere securely, select Done.
vRA Portal Configuration
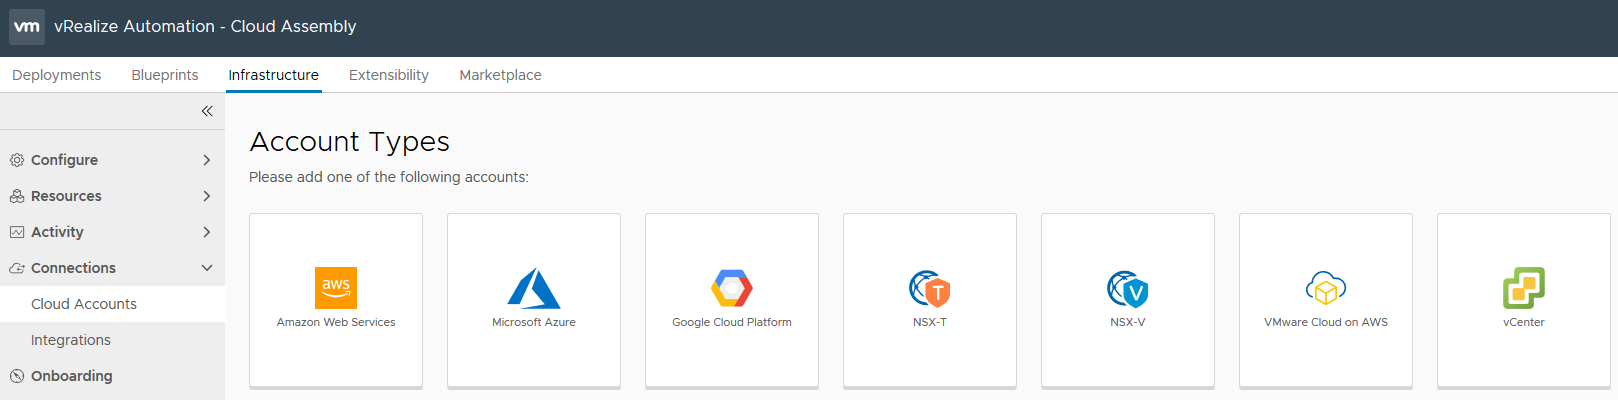
Back in the vRA portal, select Cloud Assembly > Infrastructure > Connections > Cloud Accounts > Add Cloud Account > Google Cloud Platform
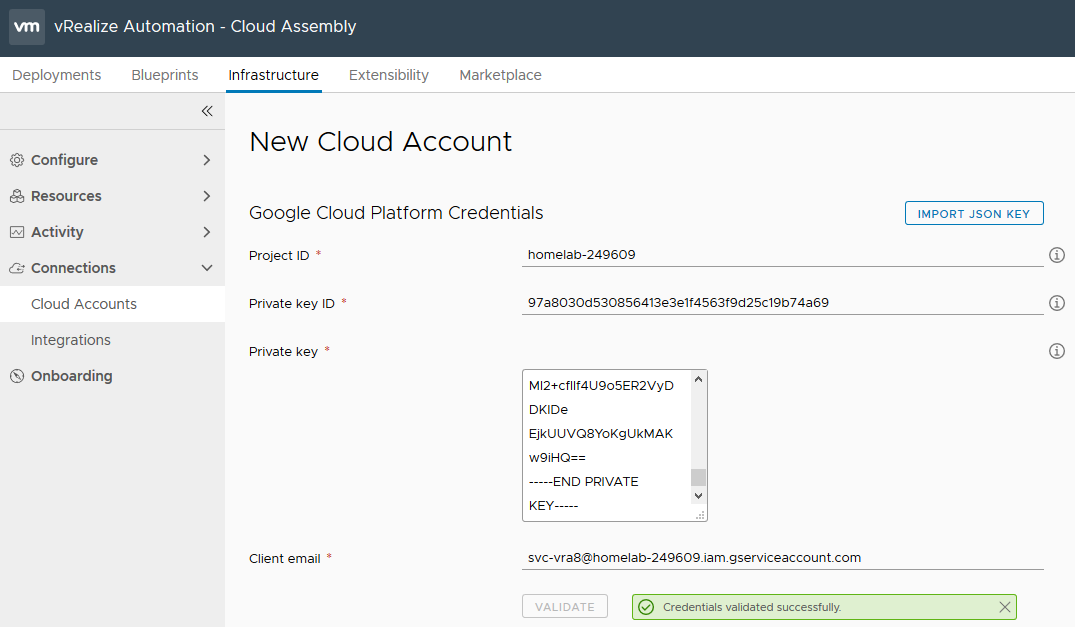
In the New Cloud Account page, select the Import JSON Key button up the top and navigate to the previously downloaded JSON file. This will then auto-fill the next sections for you. Once this is loaded, confirm it all looks correct and select Validate.
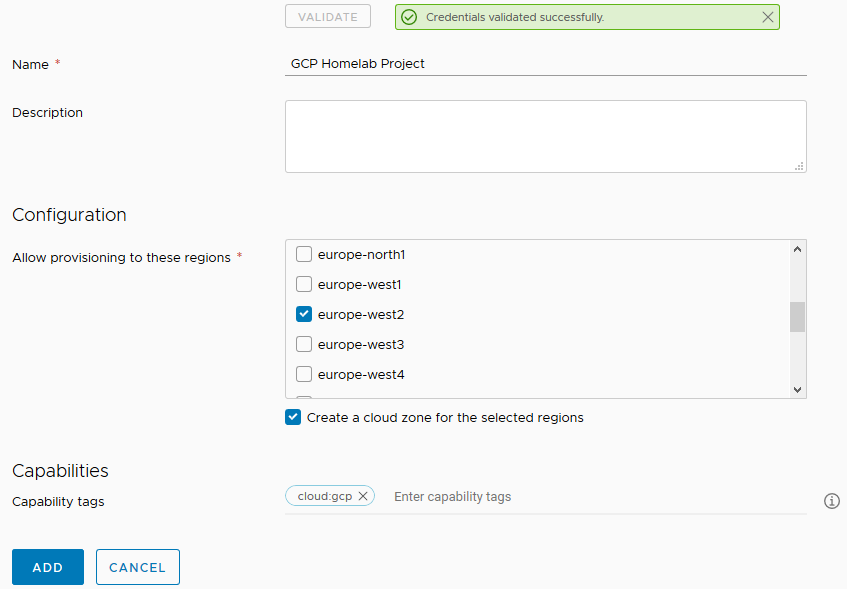
Enter a name for the Cloud Account and optionally a description. Under Configuration, select the GCP regions to allow provisioning to, ensure the checkbox is select to create a cloud zone for each of the selected regions, and under Capability tags, enter “cloud:azure”. This enable us to use tagging in the blueprint request forms to select the appropriate cloud account / endpoint to provision to. Once done, select Add.
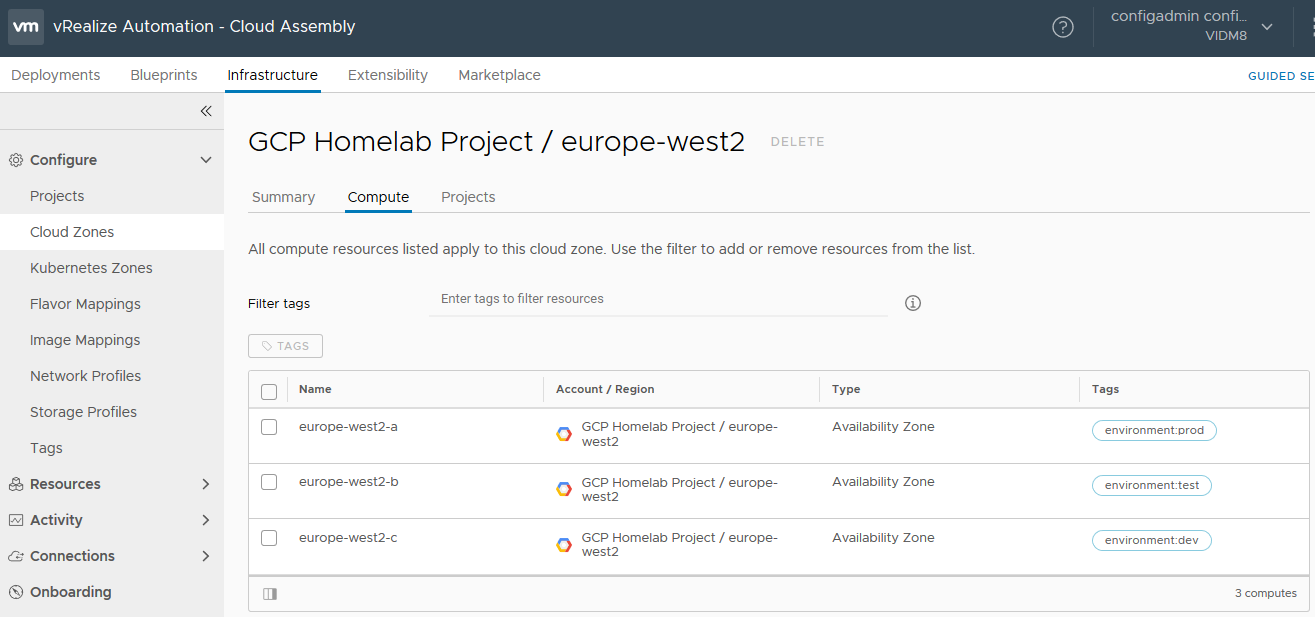
Once the Cloud Account has been created, under Configure > Cloud Zones, you will see your selected regions each having their own Cloud Zones.
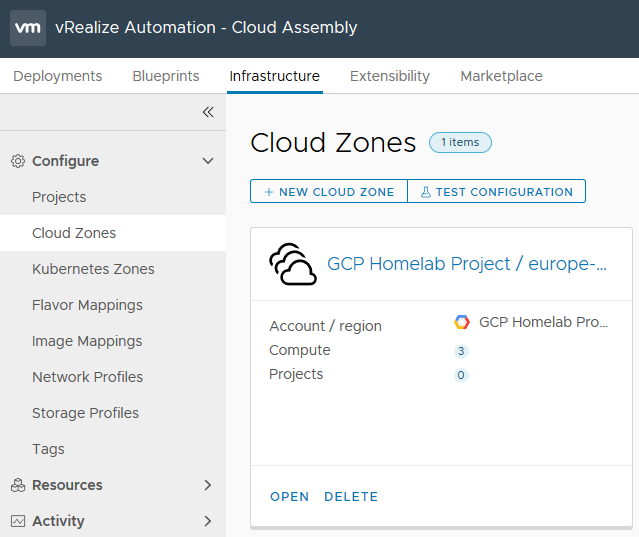
In more complex environments, you can Open the Cloud Zone and select the Compute tab, and for each availability zone, assign capability tags. If for example you have separate availability zones for dev, test and prod, you could assign the capability tag “environment:dev” to europe-west2-c, “environment:test” to europe-west2-b & “environment:prod” to europe-west2-a, to ensure that different workload environments are placed in different availability zones. The second part of this configuration is done in the blueprint request form.