vRealize Suite 2019 - Deploy using vRSLCM
In the previous post we went over the vRSLCM configuration and now we are ready to deploy the vRealize Suite of products. Before we start, I can not stress this enough... Read the release notes!! There are countless changes to each of the products and vRA 8.0 especially is missing some features which may return in vRA 8.1 or later.
- vRealize Suite Lifecycle Manager 8.0 - Release Notes
- vRealize Automation 8.0 - Release Notes
- vRealize Log Insight 8.0 - Release Notes
- vRealize Operations Manager 8.0 - Release Notes
- vRealize Orchestrator 8.0 - Release Notes
vRealize Suite 2019 Deployment
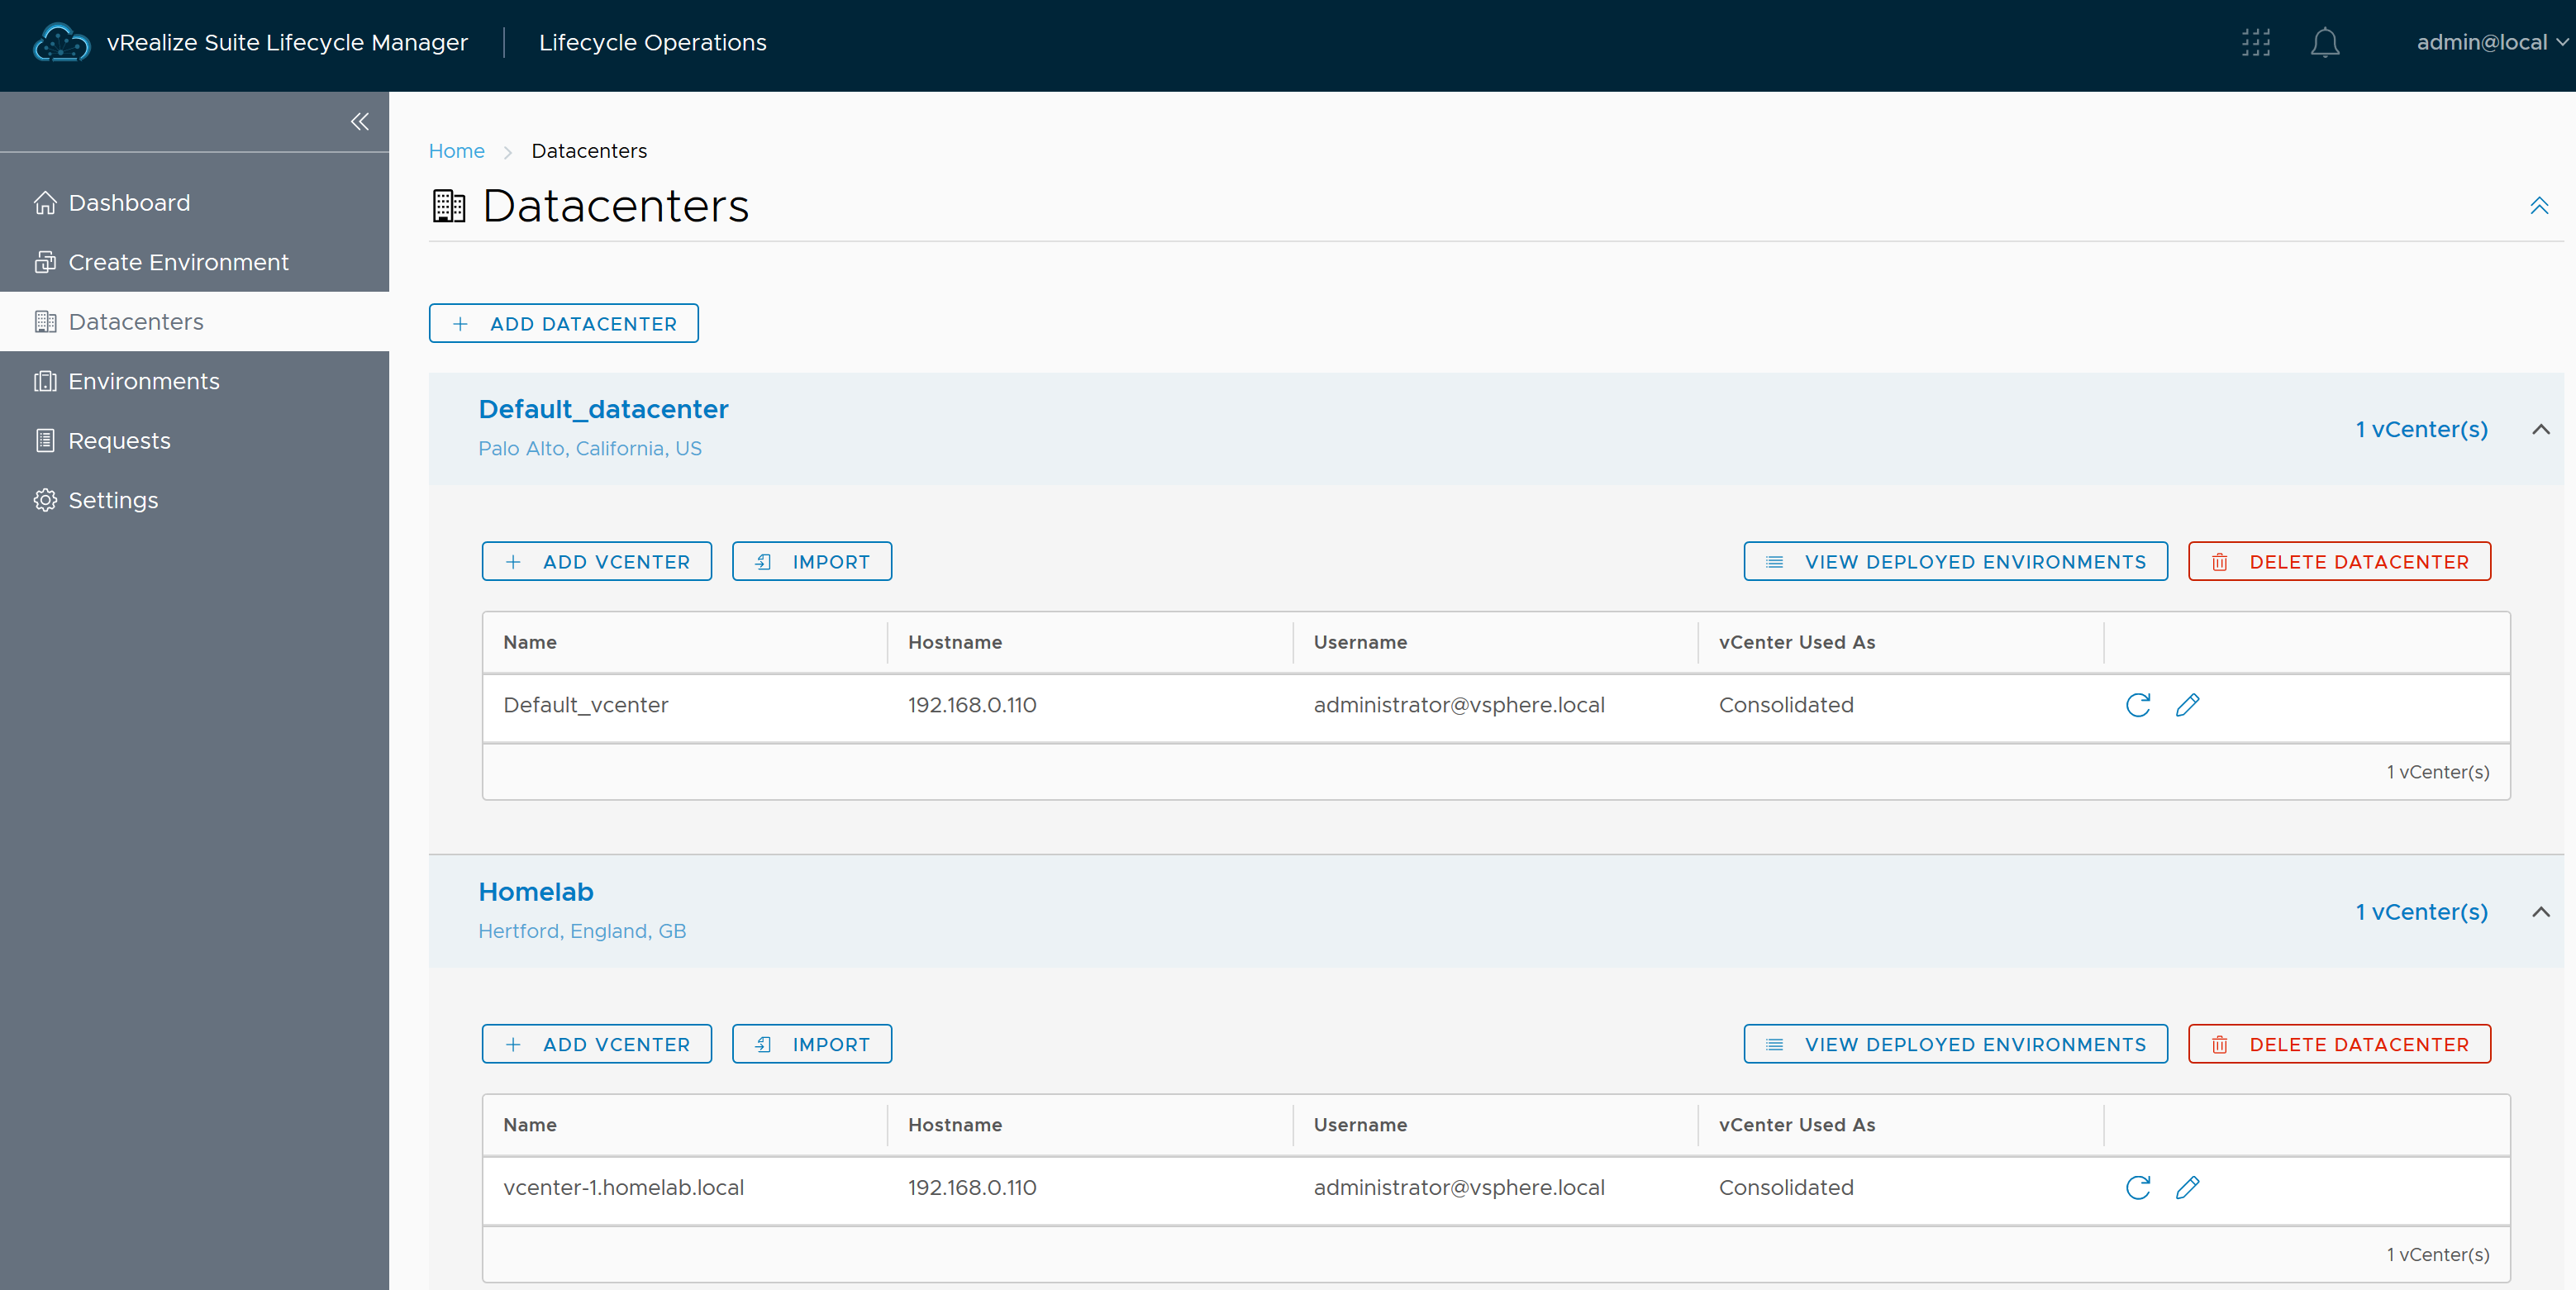
If this environment is just your homelab, you can leverage the default datacenter otherwise it is best to create a new datacenter. To create a Datacenter, log into vRSLCM and select Lifecycle Operations > Datacenters on the left, then Add Datacenter. Enter a name along with the location and click Save. Add a vCenter Server to your new datacenter and Save. You should now see two datacenters. One called "default_datacenter" located in Palo Alto, California, US which contains the vIDM installation, and another new one for your new deployment. In vRSLCM 8.0.1 you can now edit the location of the default datacenter to match your actual location.
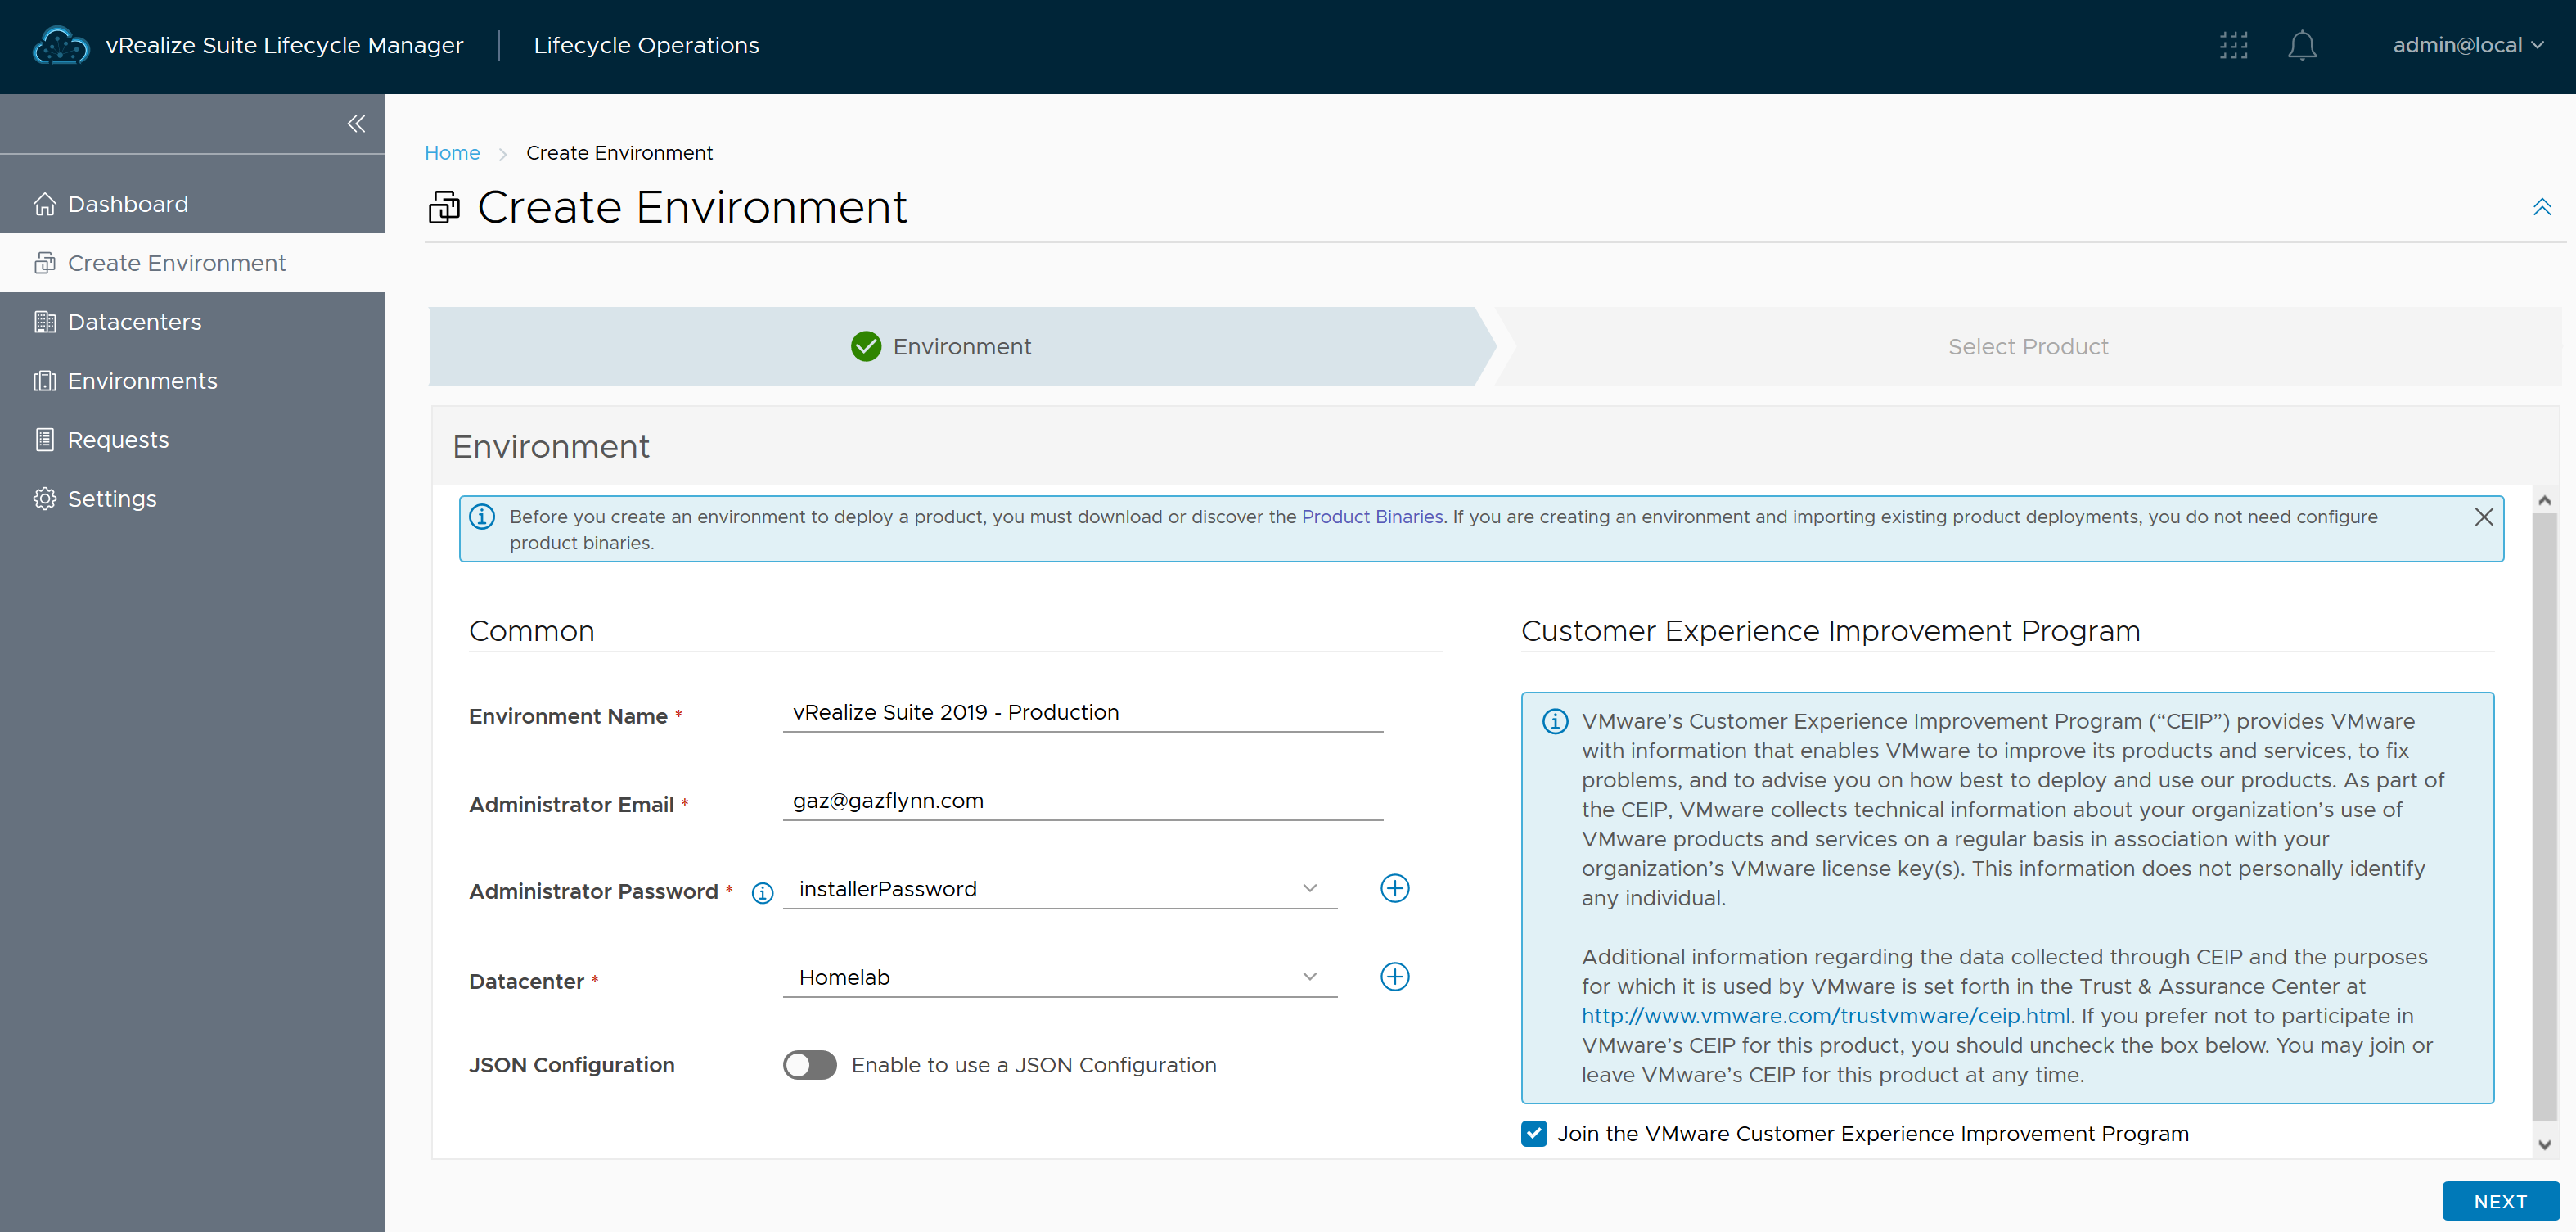
Select Create Environment on the left menu and enter the details required for your new vRA Installation. An environment name, email, default password and datacenter. Ensure you select you newly created datacenter.
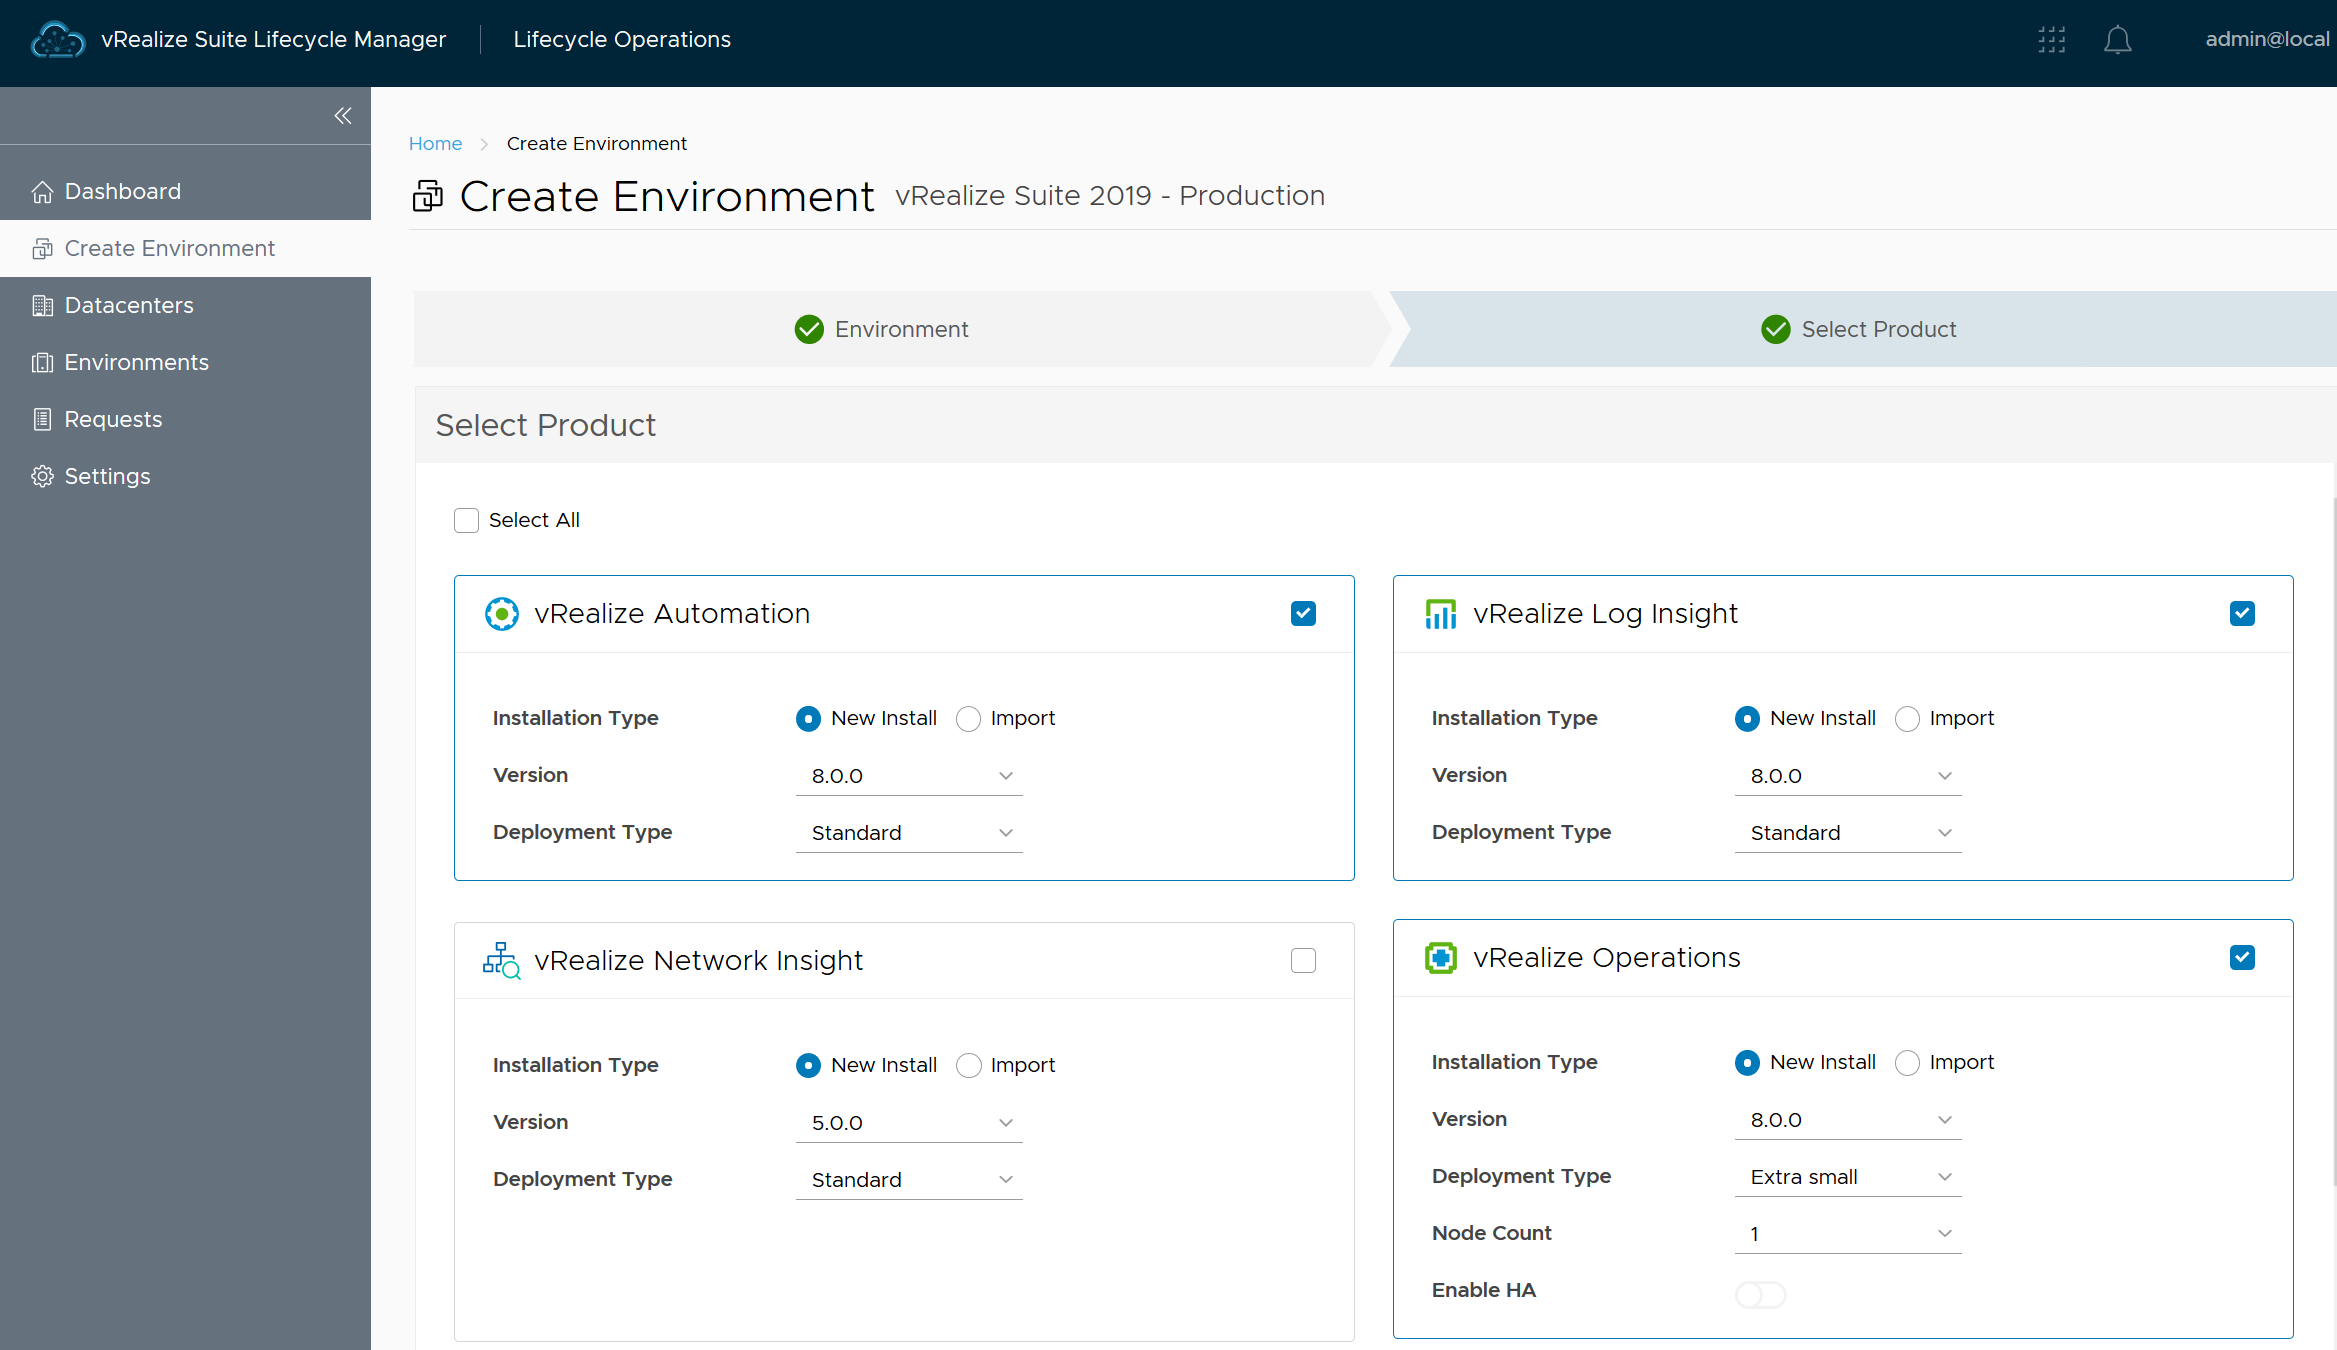
Select the products you wish to deploy in this environment along with the version numbers and deployment type. For this example, I am deploying vRA, vRLI and vROps.
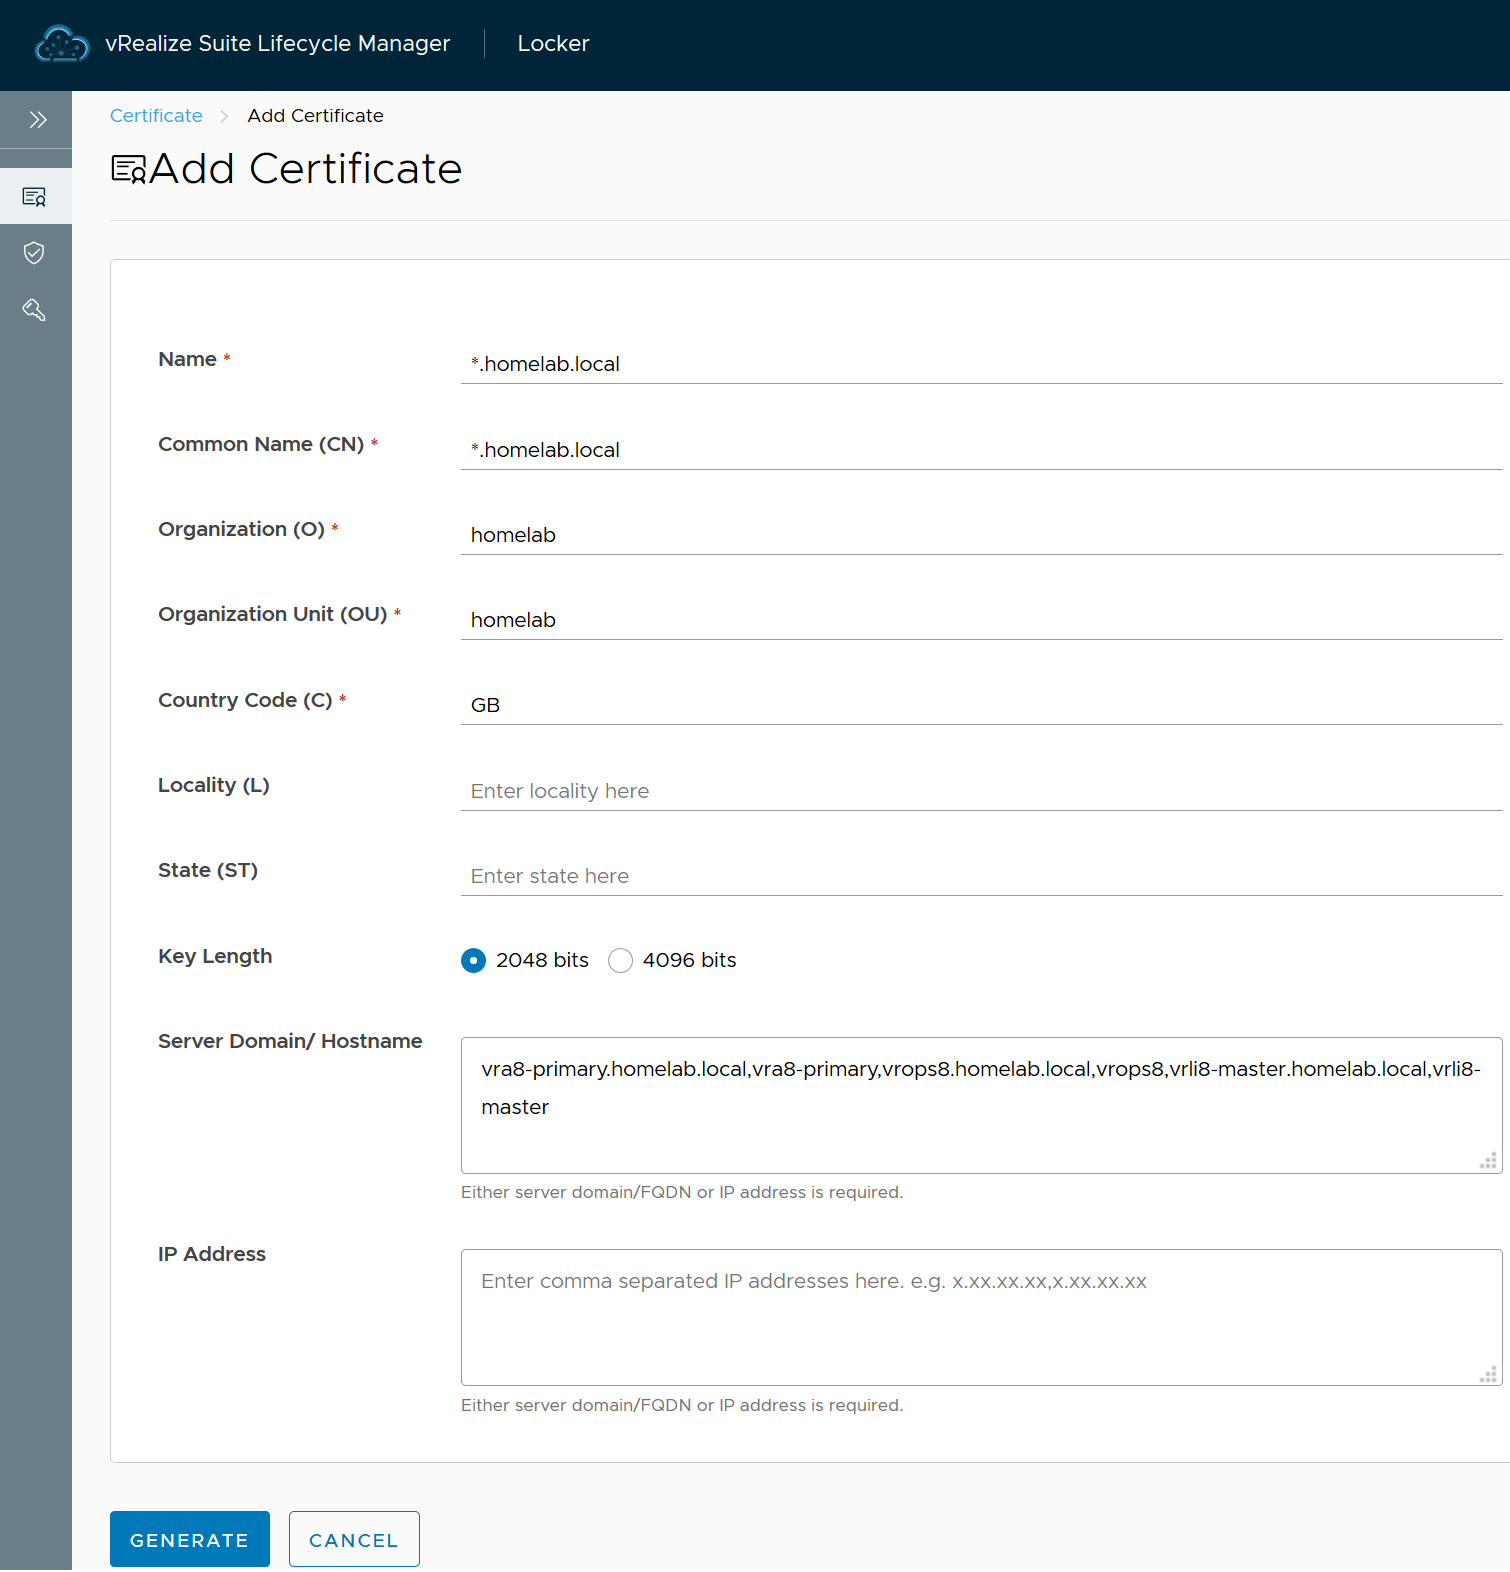
Accept the EULA, enter your licenses, and validate the association. Click the + icon and Add Certificate. Enter the details to create your certificate for your environment. As per the vRA 8.0 Release Notes, only public DNS suffix are supported for wildcard certificates. So if your domain name is *.local then the deployment will fail. In this situation, use the host names in the Server Domain / Hostname section as per below, instead of a wildcard. If you are running vRA 8.0.1, this issue is resolved.
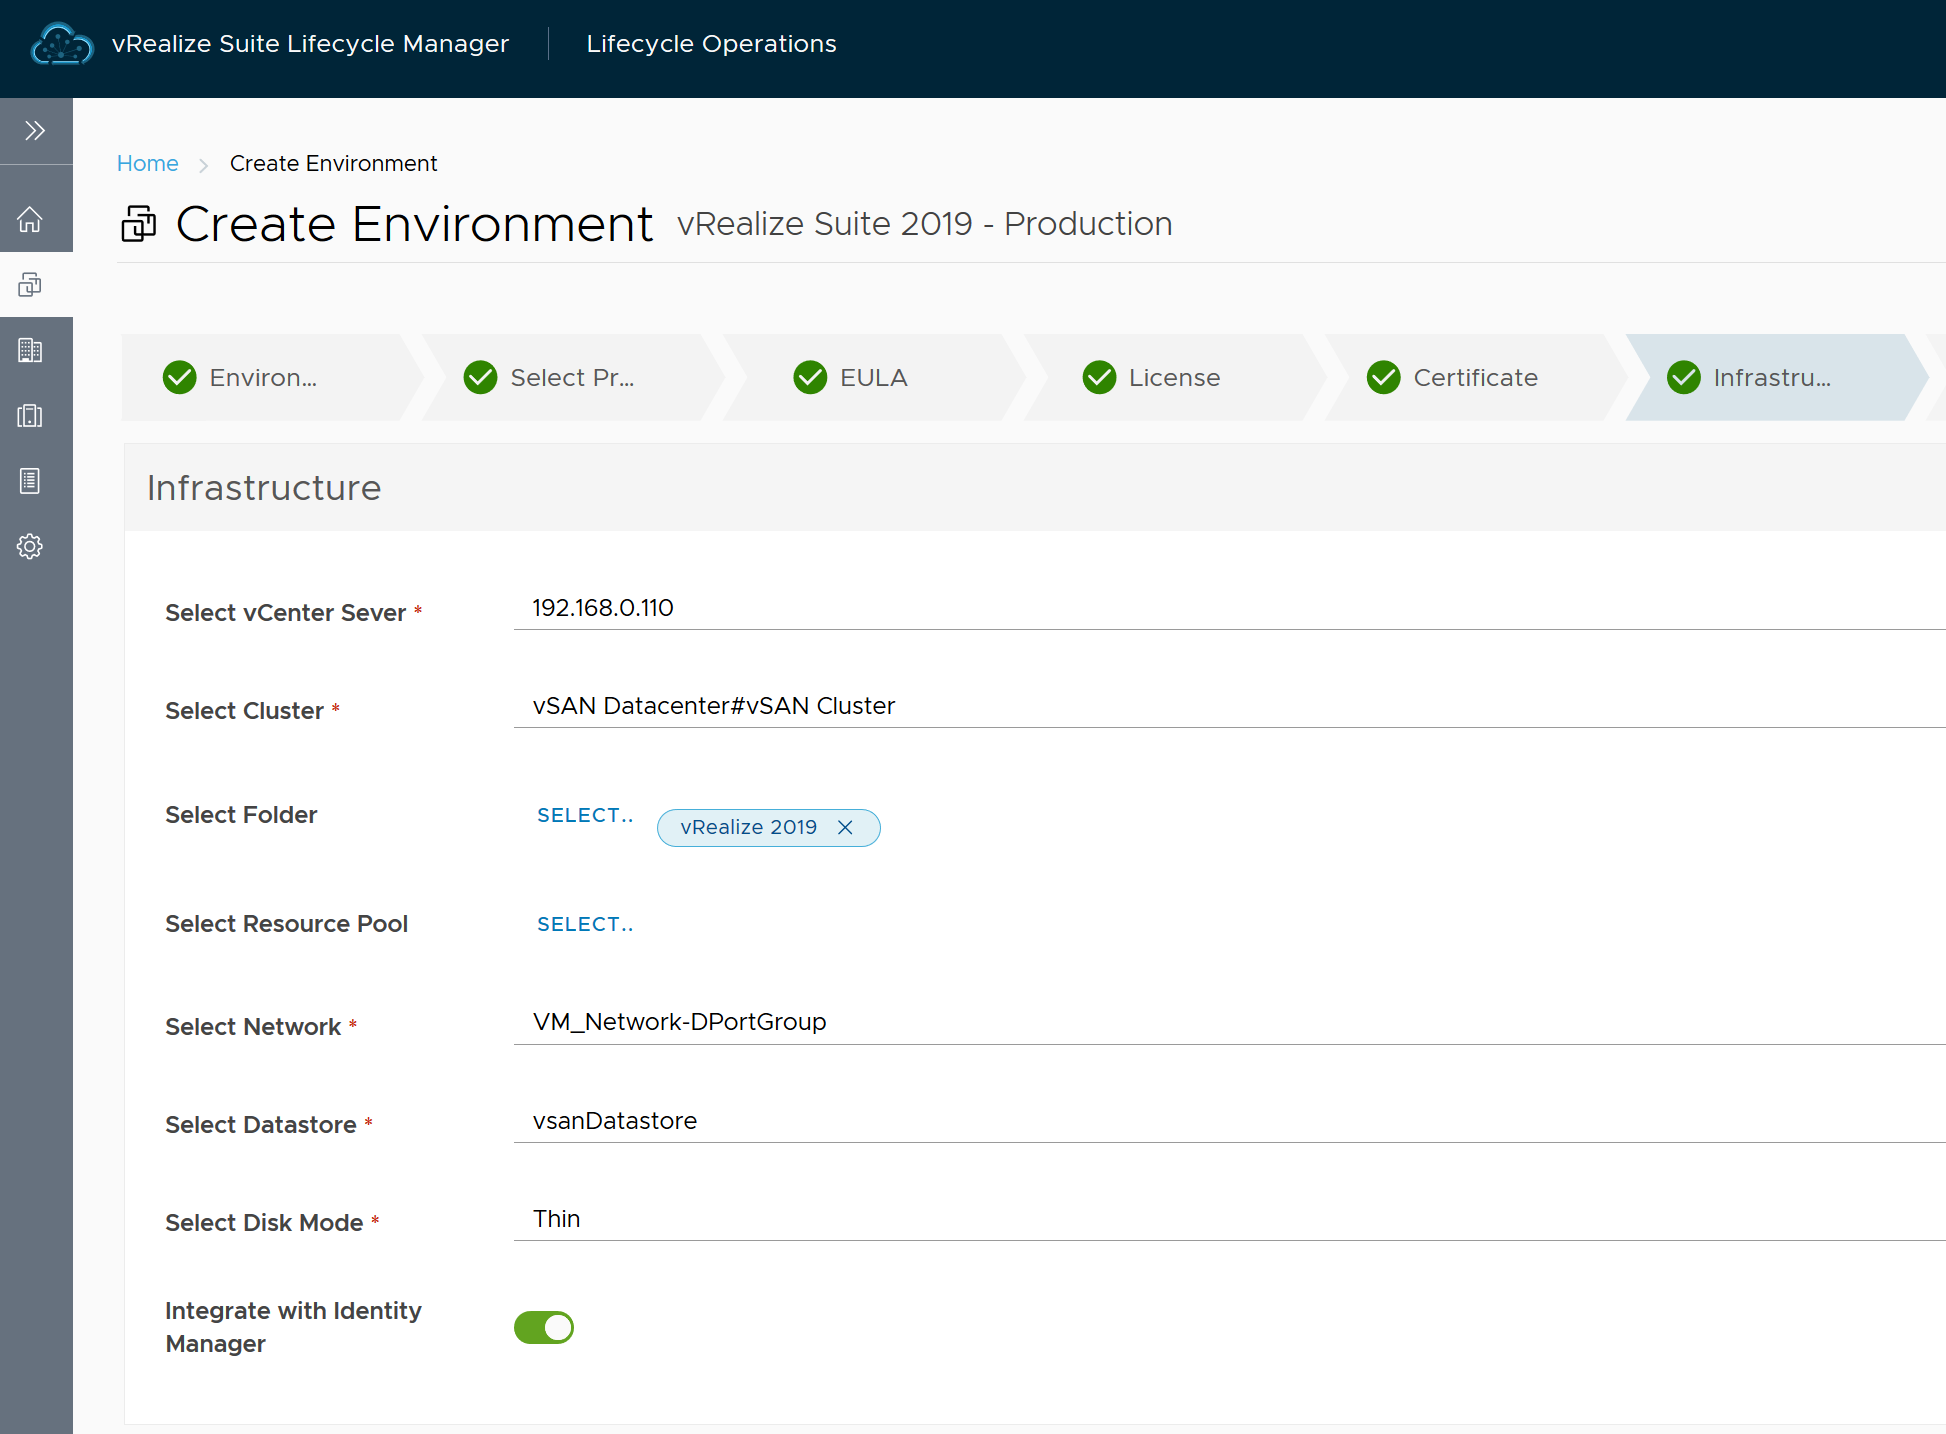
Enter the infrastructure details such as the vCenter server, cluster, network, datastore and disk mode.
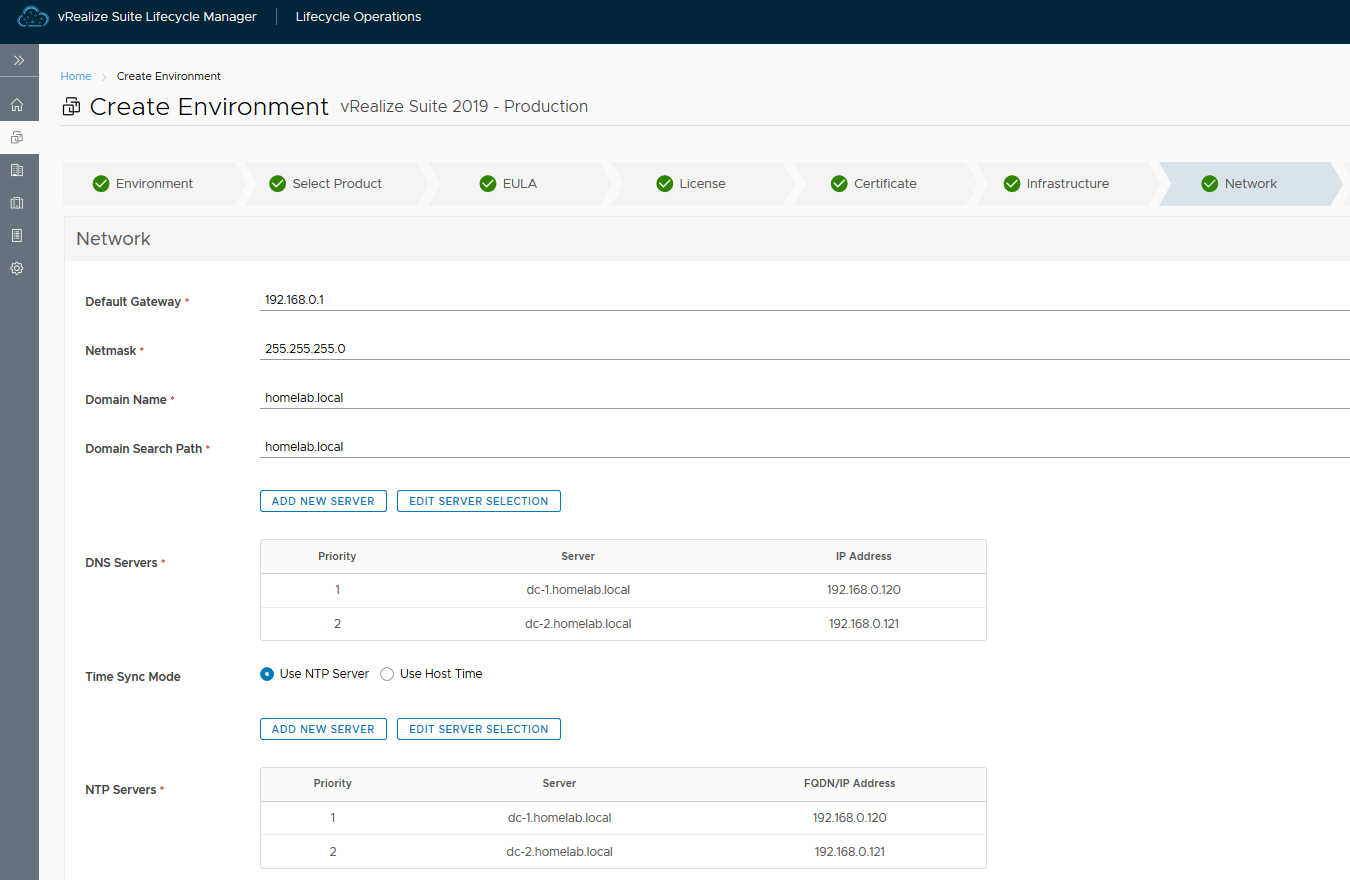
Enter the Network details which are common across all appliances such as default gateway, netmask, domain name, domain search path, DNS servers, time sync mode and NTP servers, where you can select your previously added DNS and NTP servers using Edit Selection.
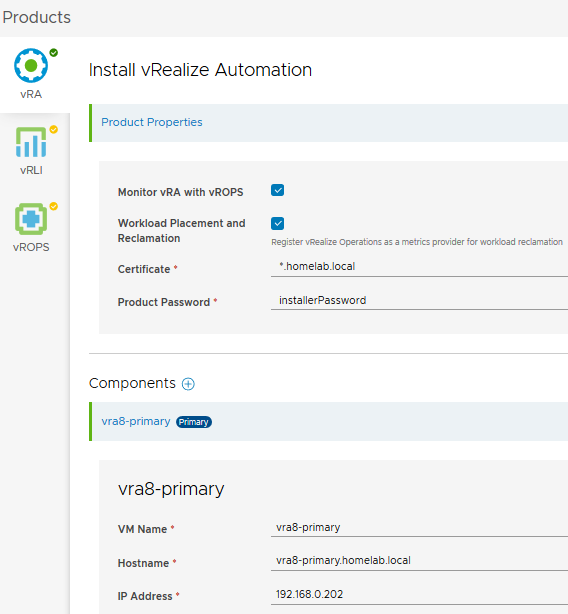
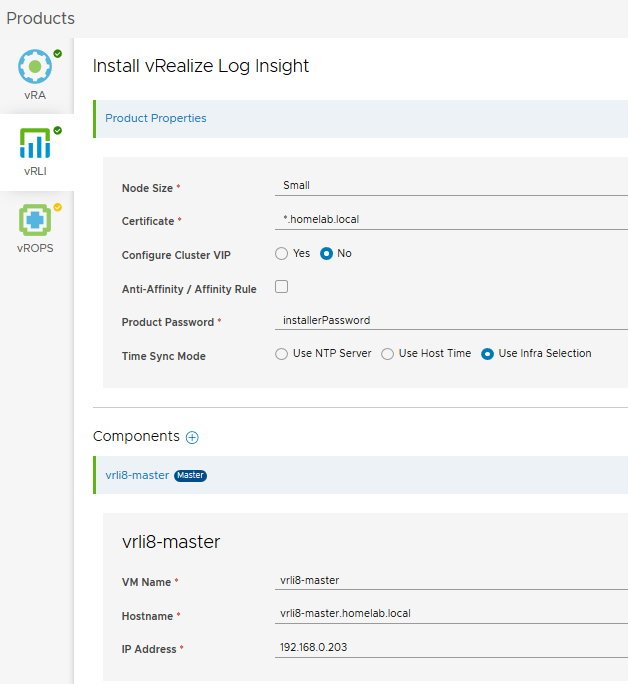
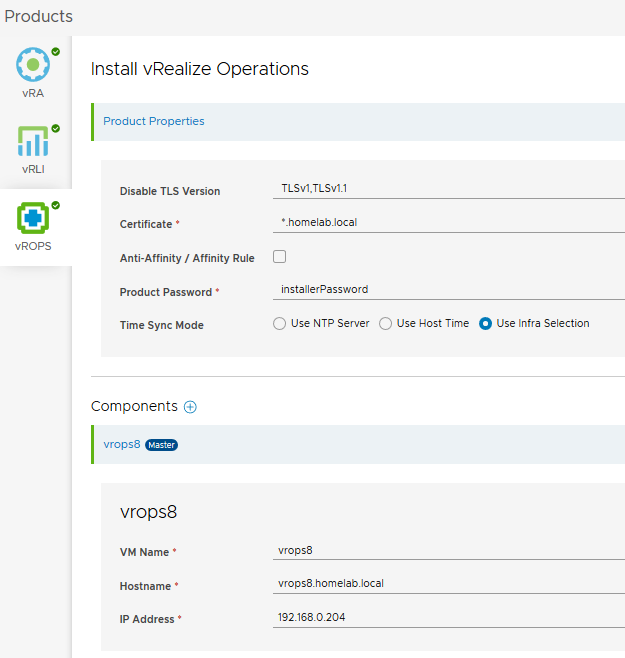
On the Products tab, select each of the products you are installing and enter the Product Properties, along with the VM specific details such as VM name and IP address etc.
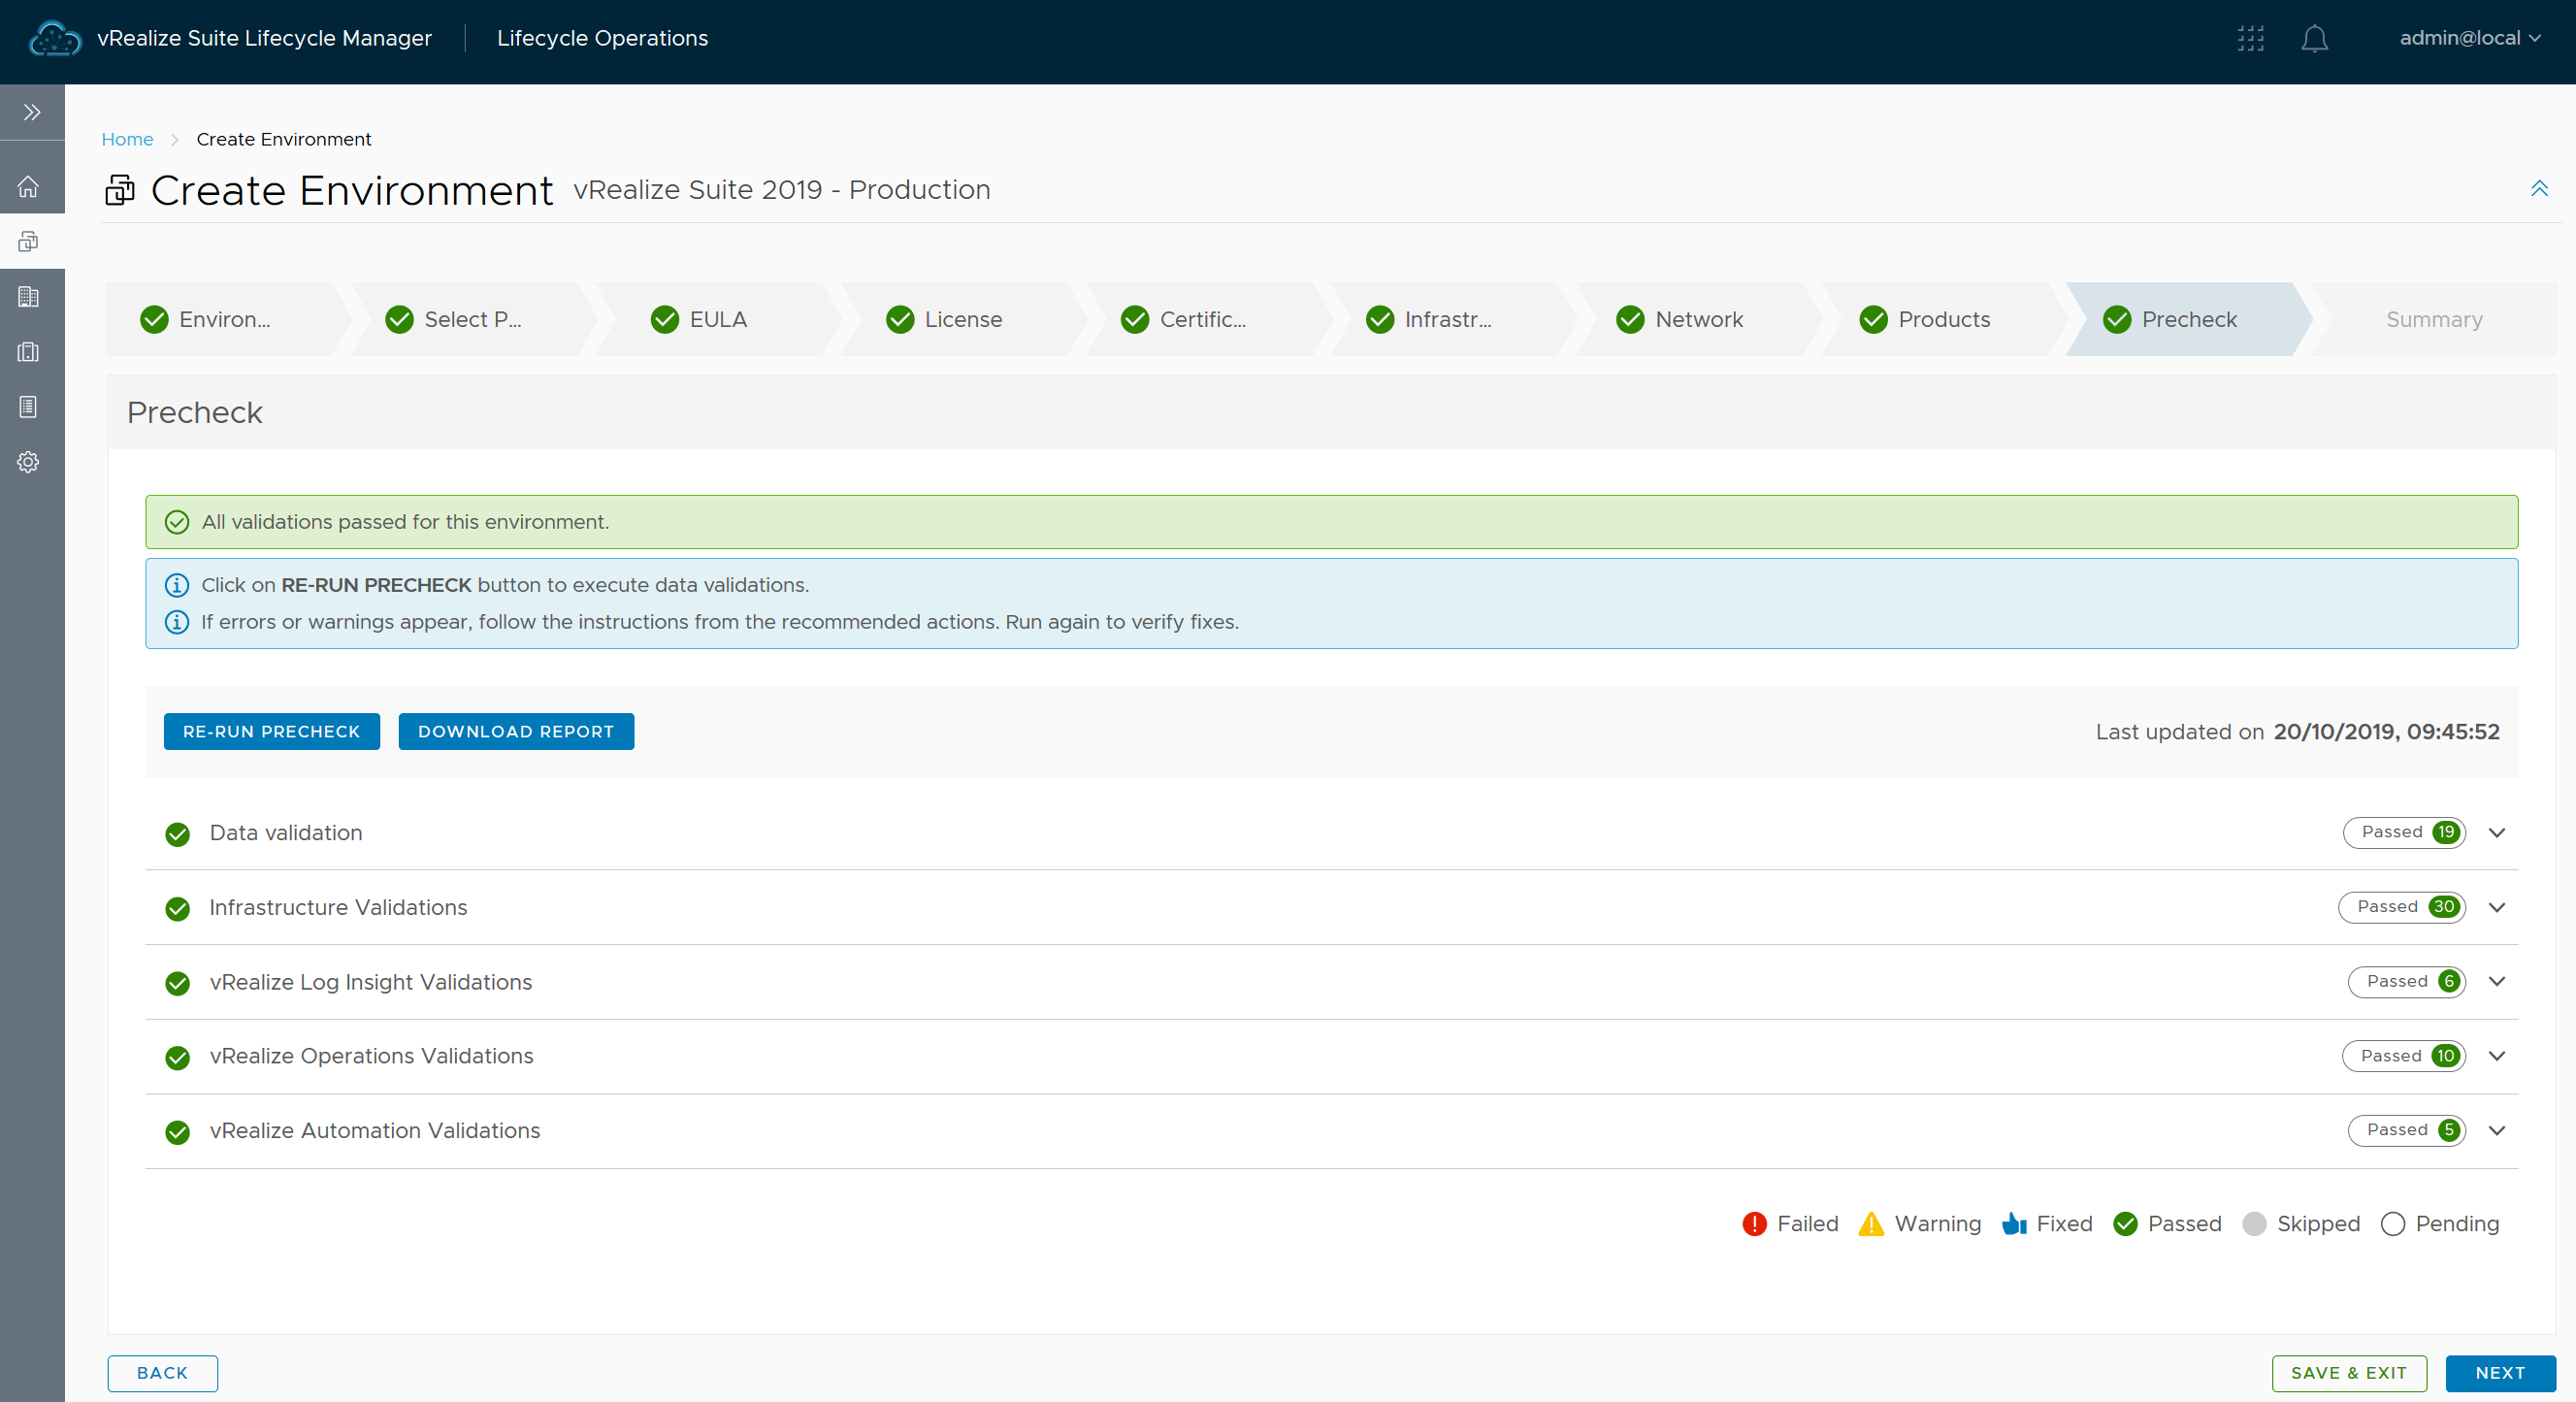
Run the Precheck to confirm everything looks okay and once you get the green light, export the configuration so you have a backup and click Submit!
Issue 1 - vRA Appliance Failed to Power On
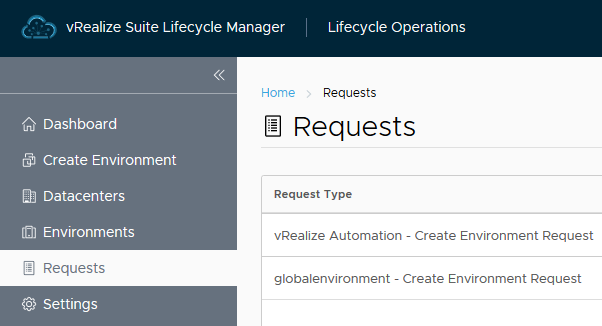
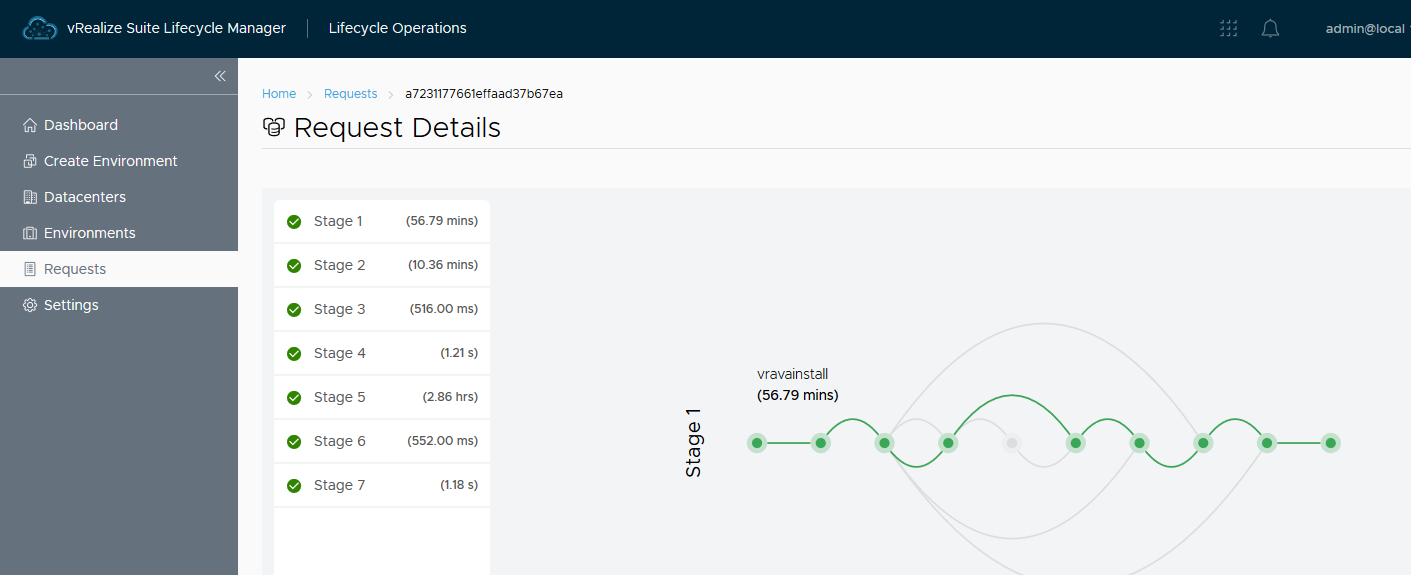
The initial deployment failed with an error stating that the vRA 8.0 appliance could not be powered on... A quick check in vCenter confirms it is deployed with 8 vCPU however my Intel NUCs only allow up to 4 vCPU. A quick edit of the VM Settings in vCenter and then logging in to the vRSLCM UI, select "Lifecycle Operations" and expand the navigation bar on the left, and select Requests. Here you will see your Failed request called "vRealize Automation - Create Environment Request". Select the request and press the Retry button to continue with the installation.
Issue 2 - vRA Deployment Failed at Stage "vravainitializecluster" - "VraVaInitialize"
Due to the resource constraints in my homelab, I initially reduced the hardware of the vRA appliance to 2 vCPU and 16 GB RAM however the deployment kept failing. Checking the /var/log/deploy.log file showed that the "identity-service" failed upgrading (despite it being a fresh install). Restarting the appliance and trying several other things didn't work... Next step was to power off the appliance, adjust the VM Settings to 4 vCPU & 24 GB RAM, power the VM back on, and retry the installation. This time, success! Looks like the installation was failing due to a timeout and the extra resources were enough for the installer to succeed!
All done!
While everything is deploying, go take a rest! You deserve it. Deployments can take a while in homelab environments especially, with the vRA appliance deployment and cluster initialize steps and the vROps cluster initializing taking the most time.
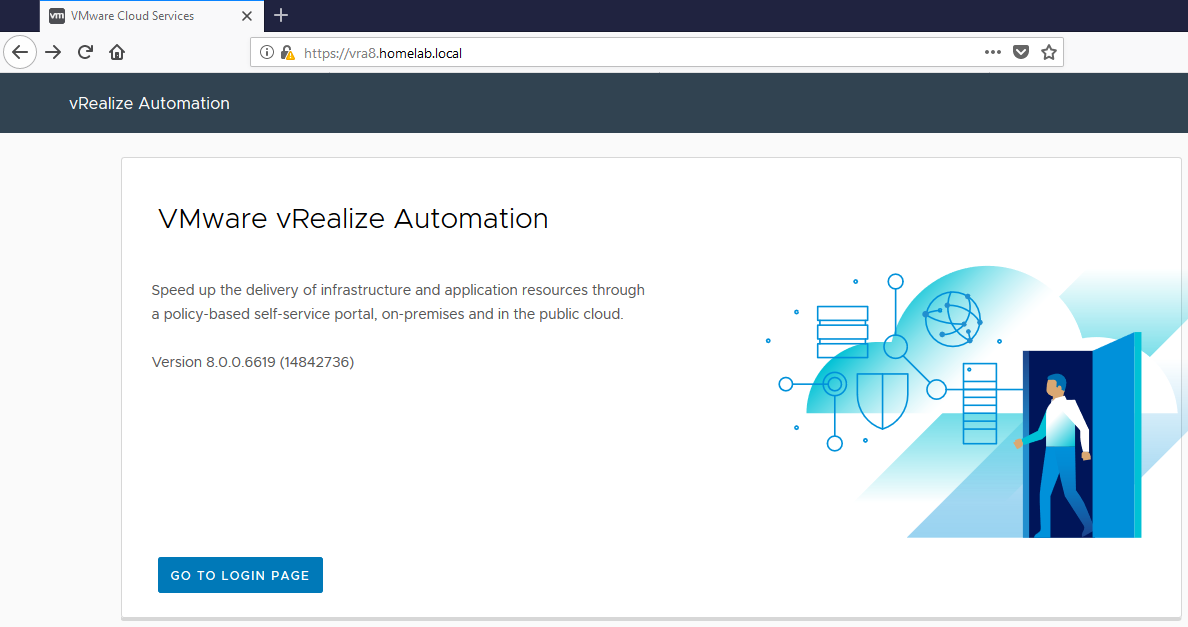
And, well, that's it! vRA 8.0, vRLI 8.0 and vROps 8.0 are deployed! If you have ever installed vRA before, that is by far the simplest vRA deployment ever!!!
Navigate to https://<vRA FQDN>/ where you are greeted with the new welcome page.
Navigate to https://<vROps FQDN>/ where you are greeted with the new vROps robot man.

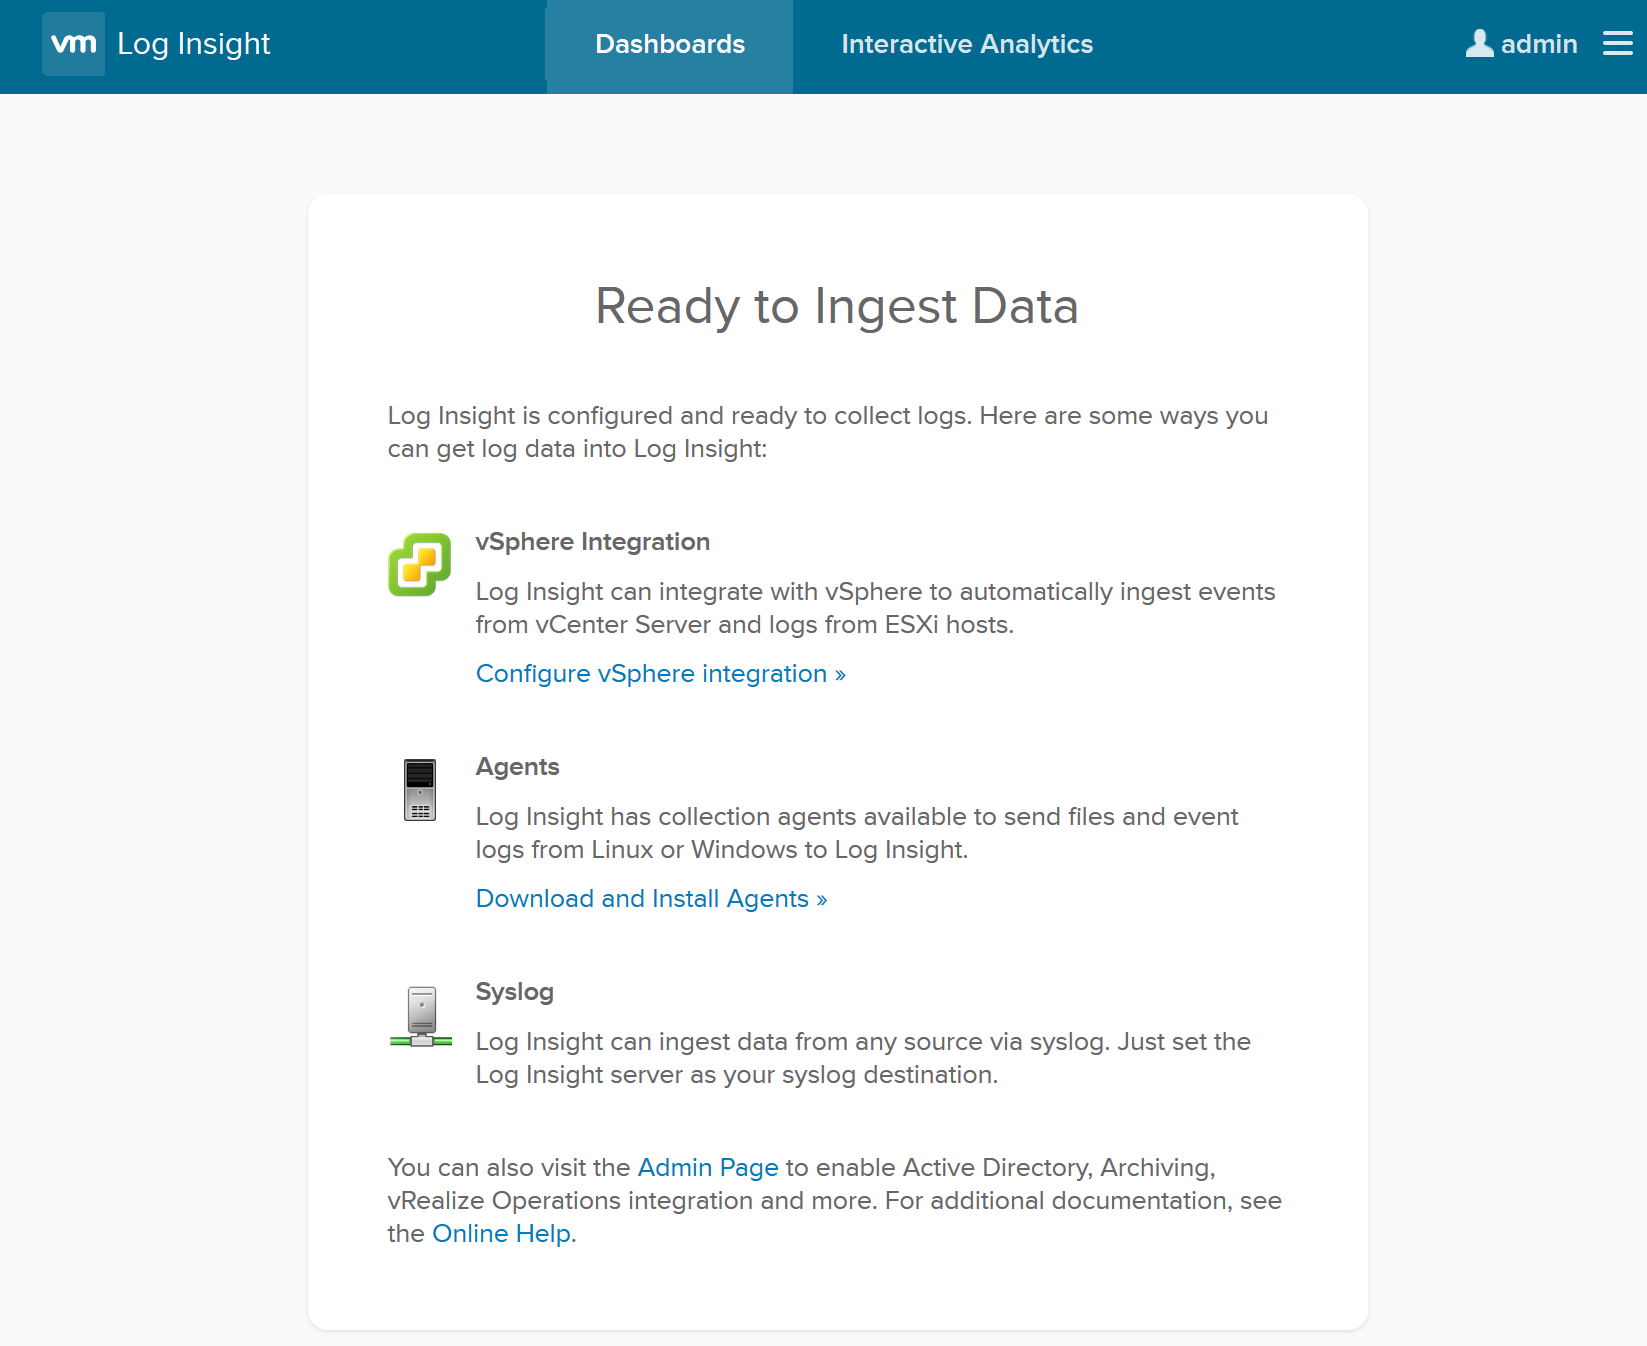
Navigate to https://<vRLI FQDN>/ where you are greeted with the familiar vRLI login screen.