vRealize Suite Lifecycle Manager 8.0 Configuration
In the previous post we went over the vRSLCM Easy Installer which deployed vRSLCM 8.0 and vIDM 8.0. The installations went smoothly with no reported issues.
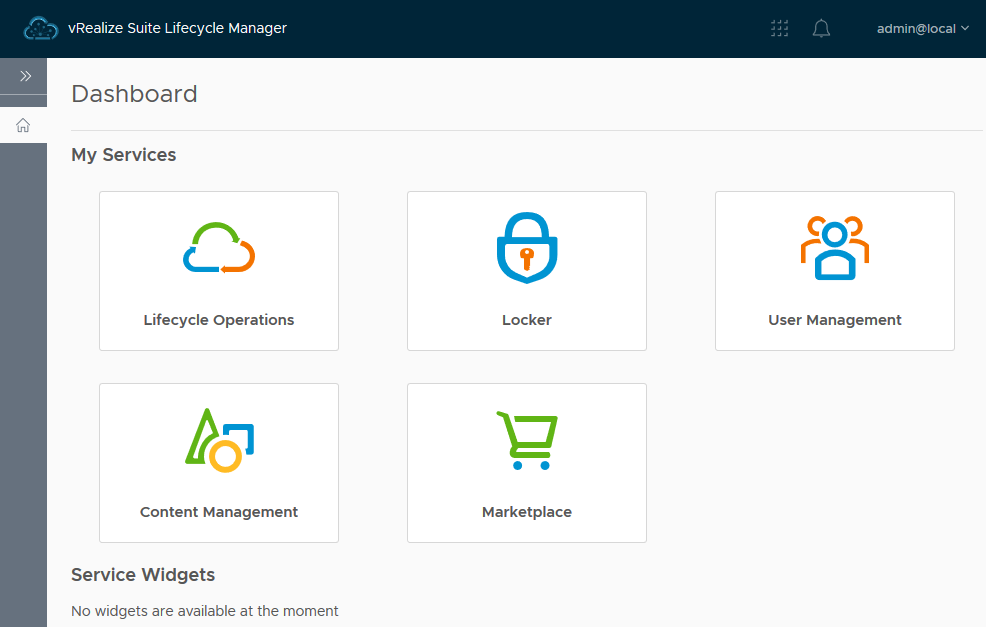
Let's log into the vRSLCM UI by navigating to https://<vRSLCM FQDN or IP>/ and log in with the username "admin@local" and the password you set in the deployment in the previous steps. Note the default username has changed from previous versions and is no longer admin@localhost. Don't get caught out trying to log in with the wrong username!
Initial vRSLCM Configuration
Before we deploy vRA, let's run through the basic vRSLCM configuration so that everything is in place. Navigate to Lifecycle Operations > Settings.
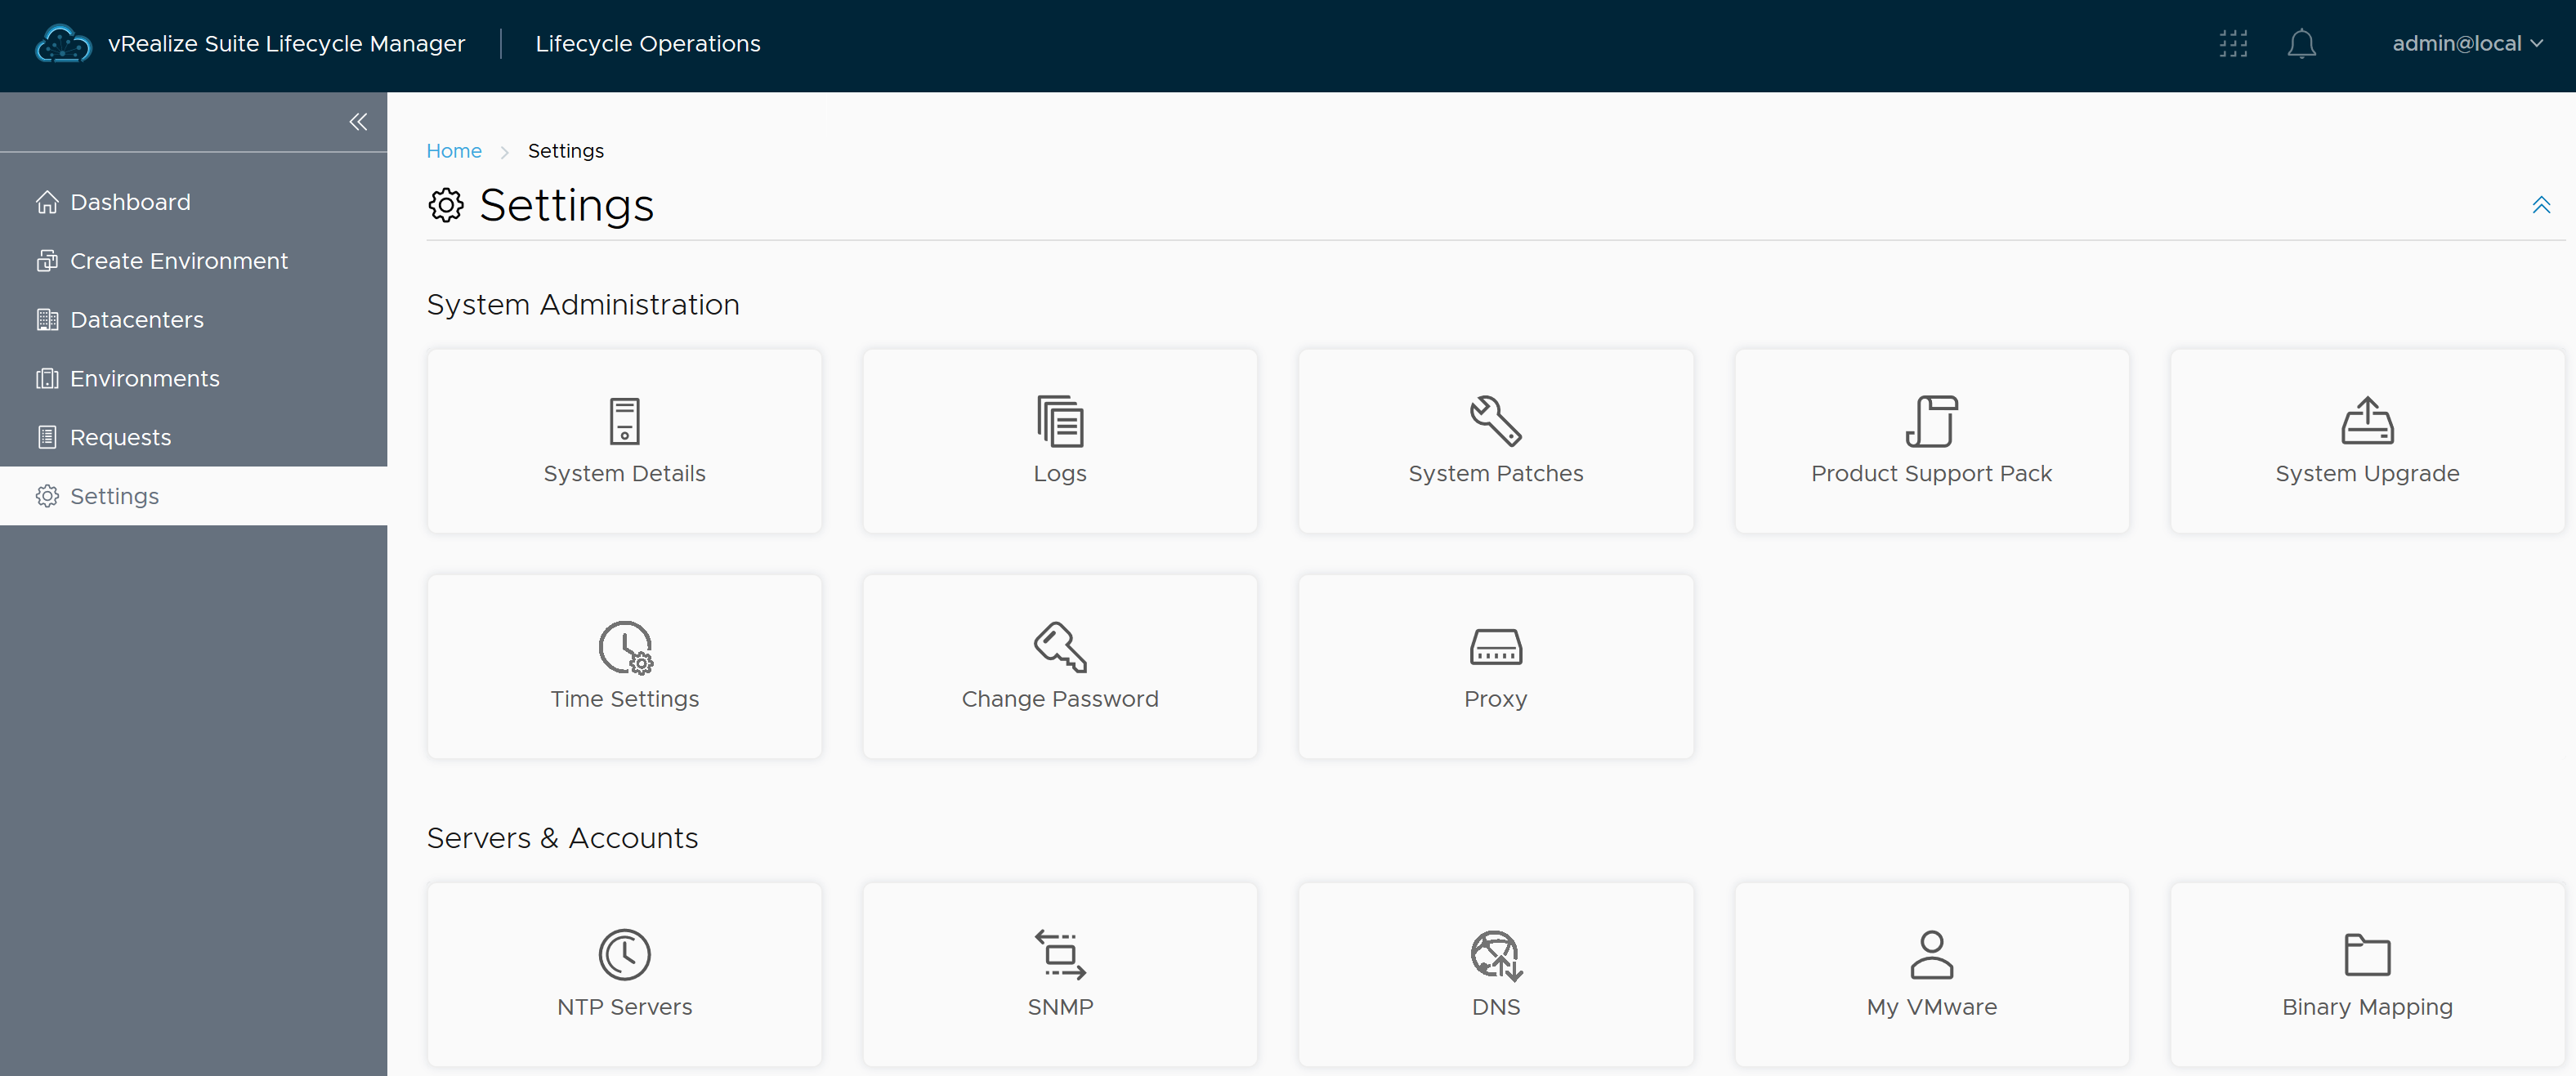
If your vRSLCM appliance doesn't have direct internet access, enter your Select My VMware and add your My VMware Account here. Select NTP Servers and enter each of your NTP Servers (recommended two at a minimum). Then do the same for DNS. Once done, select Time settings > Use Time Server (NTP) and Edit Server Selection ensuring you select your recently added NTP servers before selecting Save.

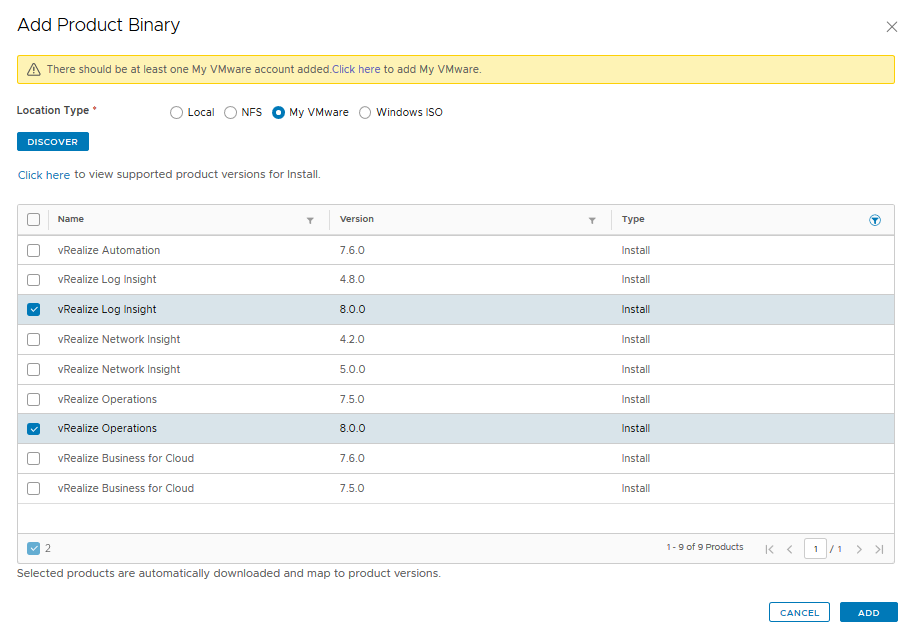
With vRSLCM configuration done, we can now import the OVA files into vRSLCM so it can deploy all of the products. To do this, select Lifecycle Operations > Settings > Product Mapping > Add Binaries. If you already have the OVAs on an NFS share you can map to that share, otherwise the easiest way is to use your My VMware account. Select My VMware, then Discover and once this completes, select the products you need. This can include the upgrade or install option. For this deployment, I need vRLI 8.0 install and vROps 8.0 install. You can use the filter symbols to filter for just the 'install' files. Select Add and vRSLCM will download the product binaries.
Once the downloads are complete, we are ready to deploy the vRealize Suite 2019. Follow the next post for more details.